


The clothes at London Fashion Week AW20 were relatively minimal, with structured blazers and neutral checks reigning supreme. Beauty, however, was maximal.
Groundbreaking makeup trends such as 'cloud skin' and embellished eyeshadow were everywhere, but the nail art really stole the show. A dedicated manicurist is now a permanent feature at most shows, and this year the likes of Marian Newman and Rita Remark dreamed up all manner of looks, from raffia nails to gem drop talons. But can the often extravagant nail art seen at London Fashion Week be recreated at home? These designs may look slick backstage (and last for 10 minutes on the catwalk) but how do they fare while getting ready in the morning, commuting and scrolling through Instagram for (let’s be honest) hours on end?
AdvertisementADVERTISEMENT
In the name of honest beauty journalism, I put five key nail art looks through their paces to discover which designs we'll actually consider asking our manicurists to recreate next season...
Black and white polka dots as seen at Rixo.
Image Courtesy of Jacqueline Kilikita.
Image Courtesy of Jenny Brownlees.
1. To minimise the hassle of removing black nail polish, which can be very stubborn, I started with O.P.I Base Coat, £13.90.
2. I painted my little and index fingers white using Nailberry White Mist £14.50, then the middle and ring fingers and thumb black with Sally Hansen Insta-Dri in Back to Black £4.99.
3. Making a small pool of white polish, I dipped in a toothpick and made three medium-sized white dots on my ring finger and four on my thumb. On my middle finger, I dotted small white polka dots to cover the entire nail.
4. I made a small pool of black polish and dotted small dots all over my index finger. Then, I added four small black dots to my little finger.
5. Top coat is essential to keep this look in place, but ensure the nails are fully dry first, so as not to 'drag' the dots. I finished with Peacći's Gel'ous Top Coat, £10.
AdvertisementADVERTISEMENT
The verdict
I’m being pedantic but I would have preferred the fingers to alternate black and white – it's more aesthetically pleasing, no? A steady hand is required for the dots (don’t zoom in, okay?) and it’s hard to get a perfect circle. The creator, Rita Remark, recommended using the end of a makeup brush handle, but I sadly discovered this tip too late. While this isn’t a style that’s easy to create in a rush, I liked the final look. It's highly wearable and complementary to most outfits.
Gold leaf nails as seen at Preen.
Image Courtesy of Preen.
Image Courtesy of Jenny Brownlees.
1. Base coat is a must for this one, so I painted on a layer of ORLY Bonder Base Coat £13.50, and allowed it to dry completely.
2. When painting on the second coat, I dotted small pieces of gold leaf, £1.95, which I bought from eBay. The key is to pat some sections down with your finger, and leave those at the top of the nail slightly loose.
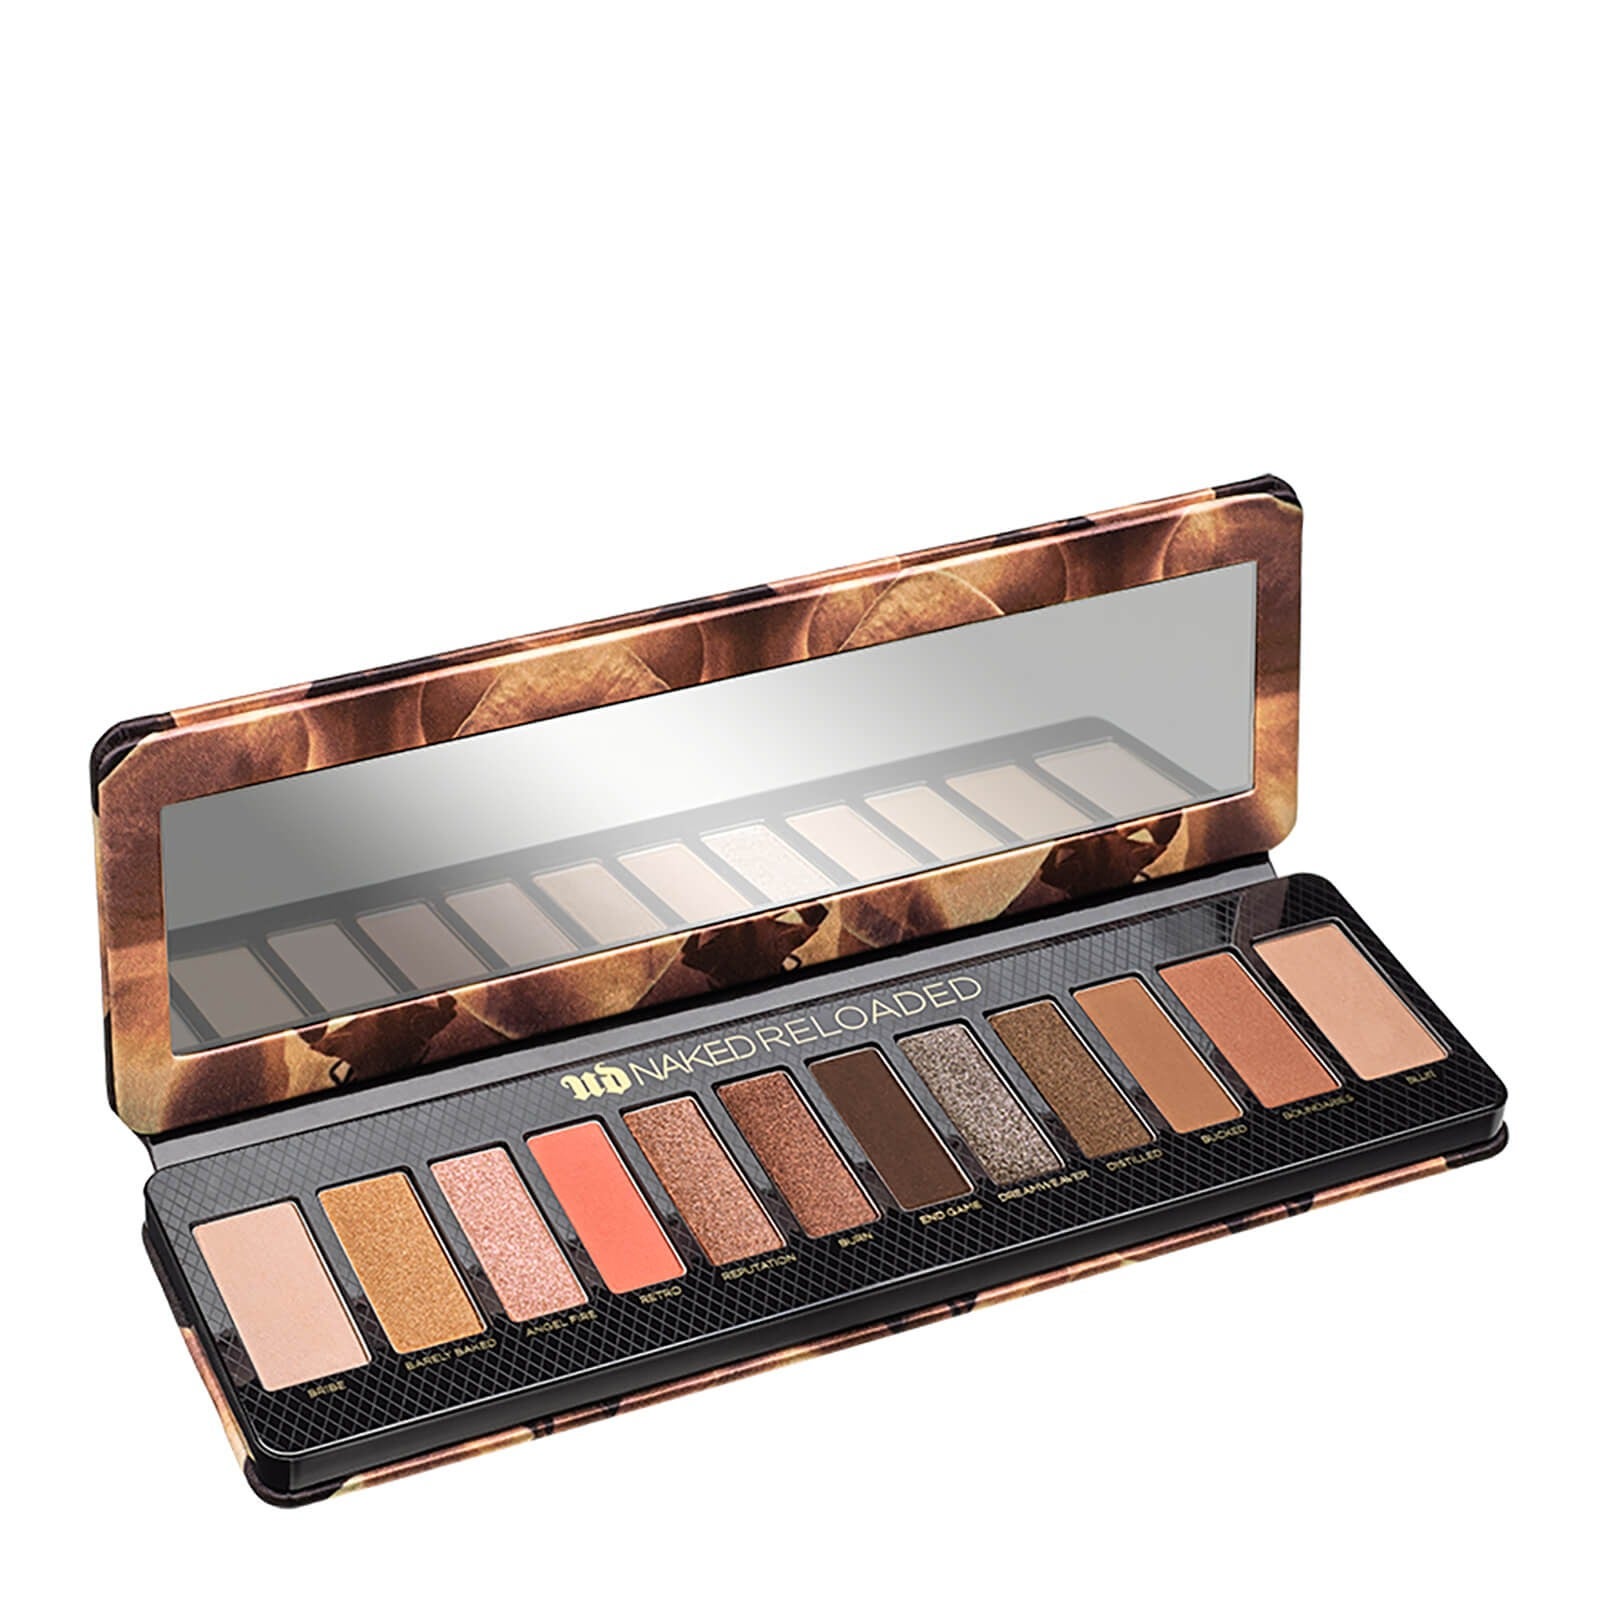
3. To finish the look, I applied a gold eyeshadow around the nail and up to my knuckle using the shade Barely Baked from the Urban Decay Naked Reloaded Palette, £39.
The verdict
This is high impact gold. Much more gold than pictures convey. I loved this but I felt a little like a Covent Garden statue. The lazy girl’s version of this would be easy with Guerlain’s Gold Leaf Top Coat, £12.95, though the leaf look itself is super easy to achieve. The bad news? I got gold eyeshadow everywhere: on my trousers, keyboard and on my dog. Not ideal. I am, however, going to create an entire gold leaf nail, this time sans eyeshadow.
AdvertisementADVERTISEMENT
Black gems as seen at Simone Rocha.
Image via @amaquashie.
Image Courtesy of Jenny Brownlees.
1. I applied Barry M’s All In One Base & Topcoat, £2.99, and allowed to dry.
2. While the second clear coat was semi-dry, I attached gems to the bottom left of the nail. Manicurist Ama Quashie used Swarovski but I got mine from eBay. I worked the gems around and upwards.
3. To secure the gems more firmly, I painted carefully around (not over) them with a top coat.
The verdict
For such an easy design, this looked super slick. I even dressed in all black to match my mani. 3mm gems were the ideal size; any bigger and they'd be popping off in minutes. Nailed it.
Coffin nails with glitter cuticles as seen at Halpern.
Image Courtesy of Jacqueline Kilikita.
Image Courtesy of Jenny Brownlees.
1. Firstly, I applied a base coat to protect my bare nails.
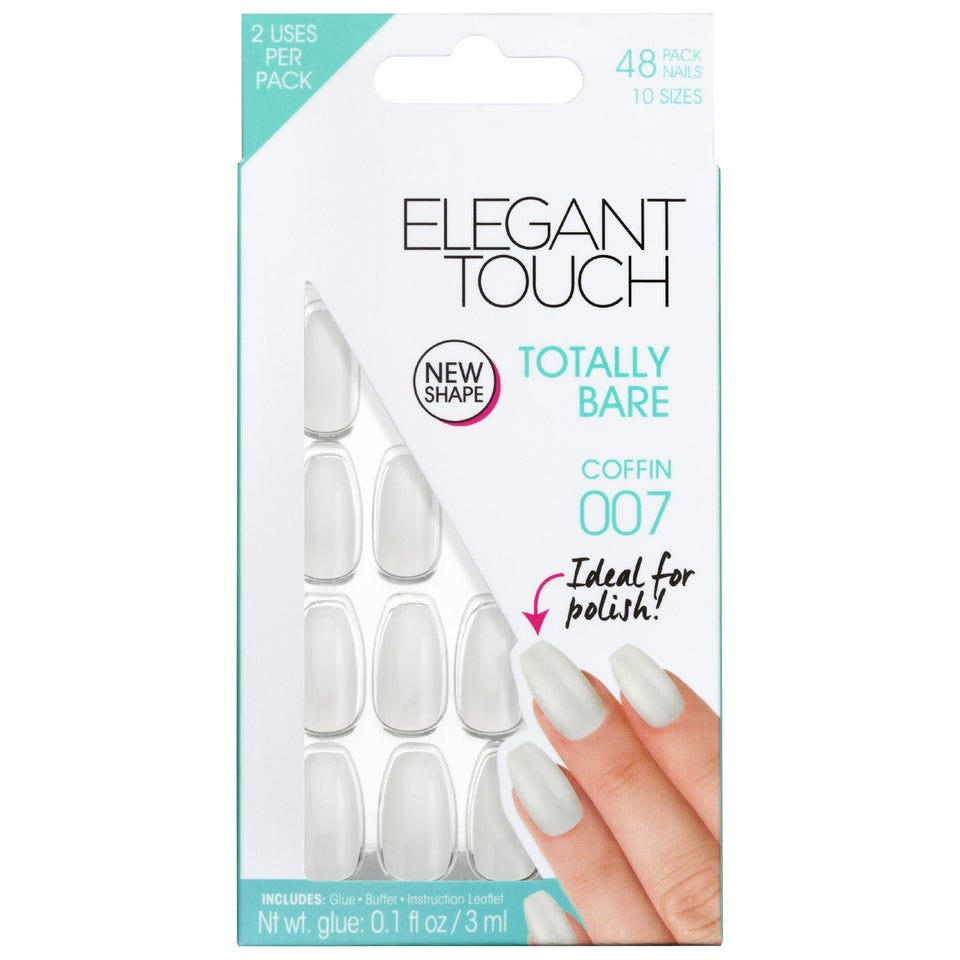
2. I cut a strip of Sellotape and secured it horizontally on to the Elegant Touch Bare Coffin Fake Nails, £4.99, 4mm from the top of each nail. Then I painted each nail with two coats of Rimmel 60 Secs Rita SOB Nail Polish in Black Matte, £3.49.
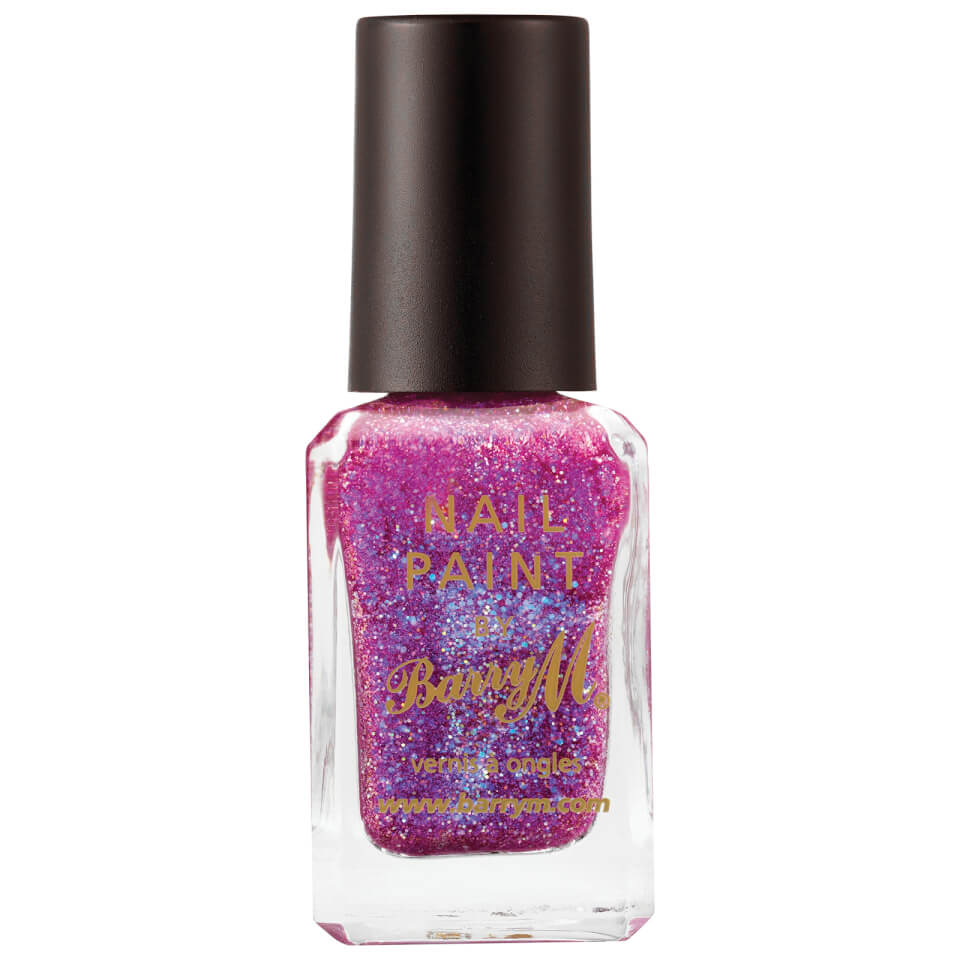
3. After peeling off the Sellotape, I used a nail art brush to apply two coats of Barry M Crystal Rock Nail Paint in Tiger Eye, £3.99, into the gaps. Once dry, use a small amount of nail glue from Elegant Touch to attach to your nails, holding each down for 10 seconds.
AdvertisementADVERTISEMENT
The verdict
Surprisingly I liked the trendy coffin shape but ultimately, long falsies are not for me. If I could grow my nails to a good length, I would try filing them into shape instead. I loved the mix of matte and sparkle, which isn't something I would have usually created. The tape element was easier than I thought it would be, so I’d experiment with this again. To remove your false nails, soak your fingertips in acetone remover. Apply Peacći Cuticle Oil, £10, to condition.
Gem drop nails as seen at Ashish.
Image via @amaquashie.
Image Courtesy of Jenny Brownlees.
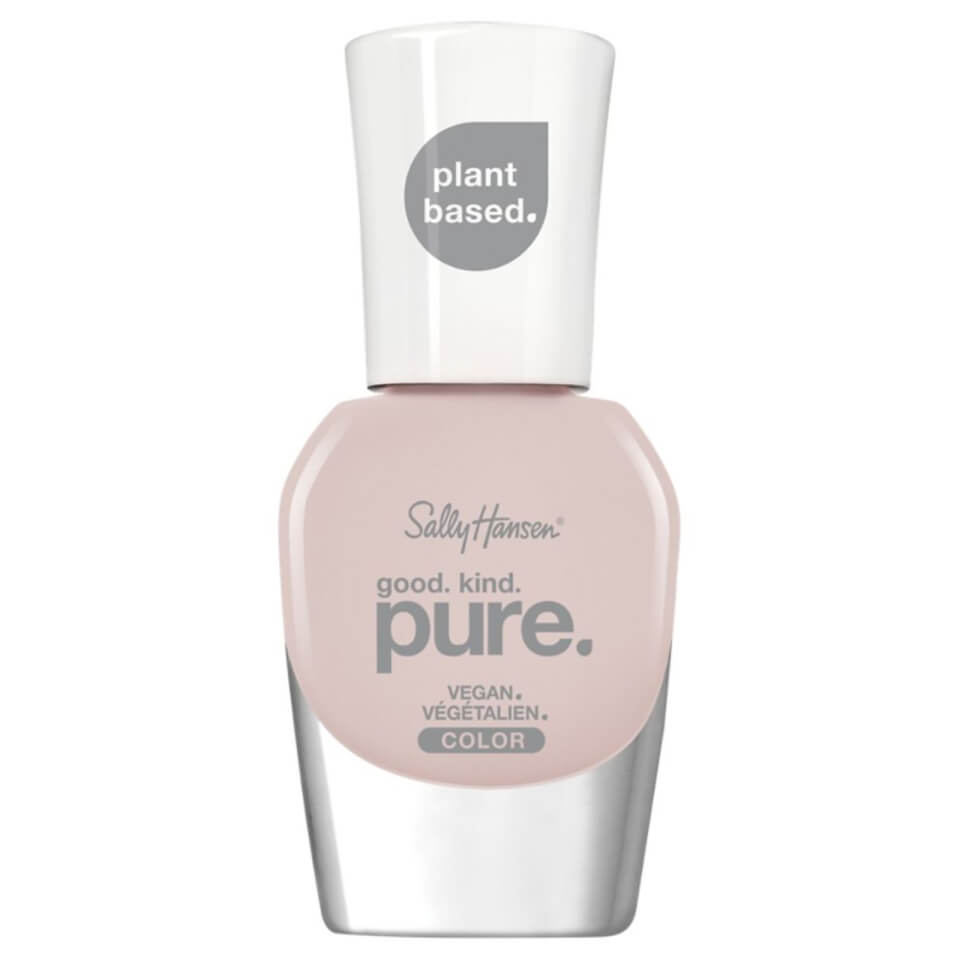
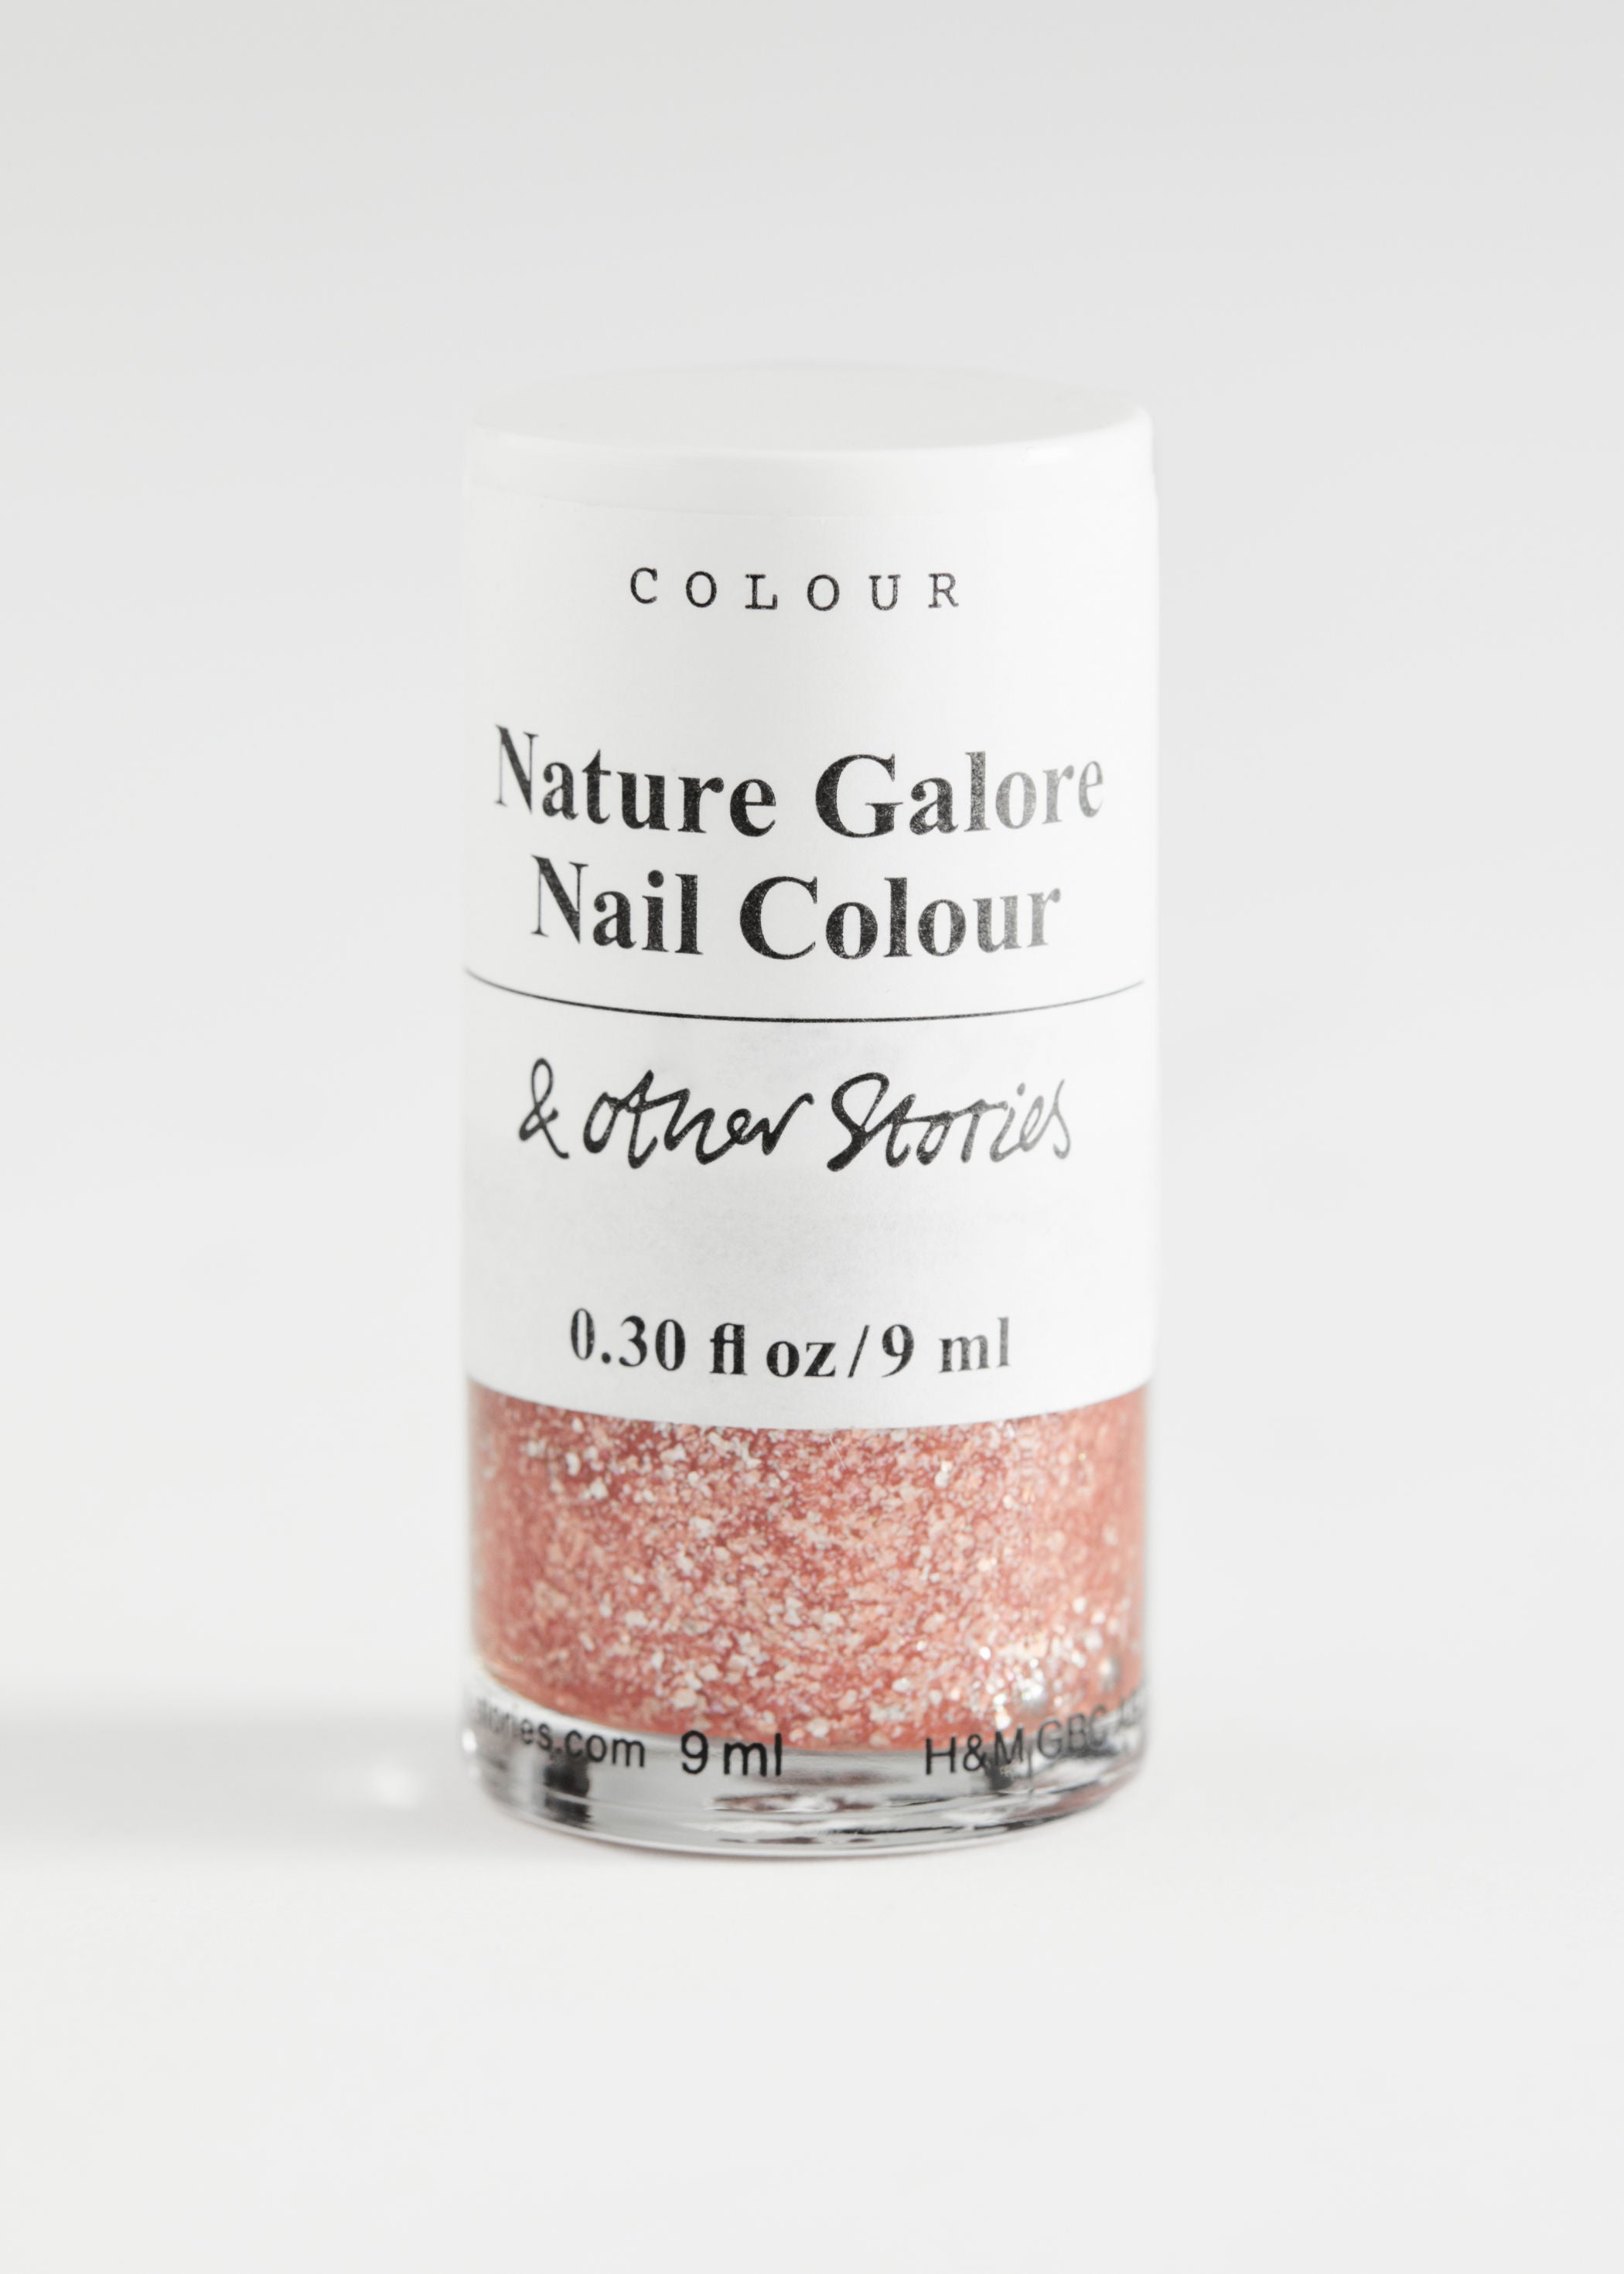
1. I first painted my nails with Sally Hansen Good Kind Pure Nail Polish in Laven-Dear, £8.99, then layered & Other Stories Nature Galore Nail Polish, £6, over the top for sparkle.
2. Using gems from Hobbycraft, I tied a 3cm piece of thread through the top of a gem and then tied a knot. Once knotted, I'd suggest cutting the thread to 1cm.
3. I applied a dot of nail glue under my ring finger, flipped the gem over and held the top of the thread in place under the nail, for 10 seconds.
AdvertisementADVERTISEMENT
The verdict
This look was perfect for a cool Boomerang but not ideal for everyday. The gem got caught in my hair and kept slapping my keyboard. Going for a wee was obviously very difficult. Plus, I was paranoid the gem would come off in my homemade lasagne and I didn't want to cause choking by nail art. I had to remove it after a few hours. Sob!
Overall though, these nail styles prove that with the right products and a little patience, Fashion Week Manicures can be done DIY-style at home. I think the chic black gem look was my favourite. I do my hair toss, check my nails. How am I feeling? Feeling good as hell.
Overall though, these nail styles prove that with the right products and a little patience, Fashion Week Manicures can be done DIY-style at home. I think the chic black gem look was my favourite. I do my hair toss, check my nails. How am I feeling? Feeling good as hell.
AdvertisementADVERTISEMENT