The Pro’s Guide To At-Home Highlights
Photo: Edward Berthelot/Getty Images.
It's funny how the hair color requests that seem the simplest ("just a few face-framing highlights!") require the most skill and precision. Those teeny-tiny sparkles of blonde that look naturally streaked by the sun are, in fact, the studied handiwork of a skilled colorist who's spent years perfecting their craft. That's why you'd be hard-pressed to find any professional who would encourage an amateur to go through with at-home highlights — the kind we're all tempted to DIY right about now.
"Hairstylists make highlights look a lot easier than they are," says color pro and Moroccanoil artistic director Kevin Hughes. "There's expertise required from start to finish, in mixing the lightener and peroxide correctly, placing the highlights, and toning the hair afterwards, which requires a whole different set of colors and developers. If you don't know what you're doing, it's too easy to wind up with orange streaks and serious damage."
AdvertisementADVERTISEMENT
If you're craving a color refresh, the best thing you can do is wait it out until you can safely return to a trusted stylist's chair. But if salon reopenings feel like a faraway dream, and you're a resolute DIYer fed up with faded 17-week-old highlights, there is a way to execute highlights on your own. Ahead, Hughes breaks down his five steps for nailing the very tricky art of the at-home highlight.
First, Call Your Colorist
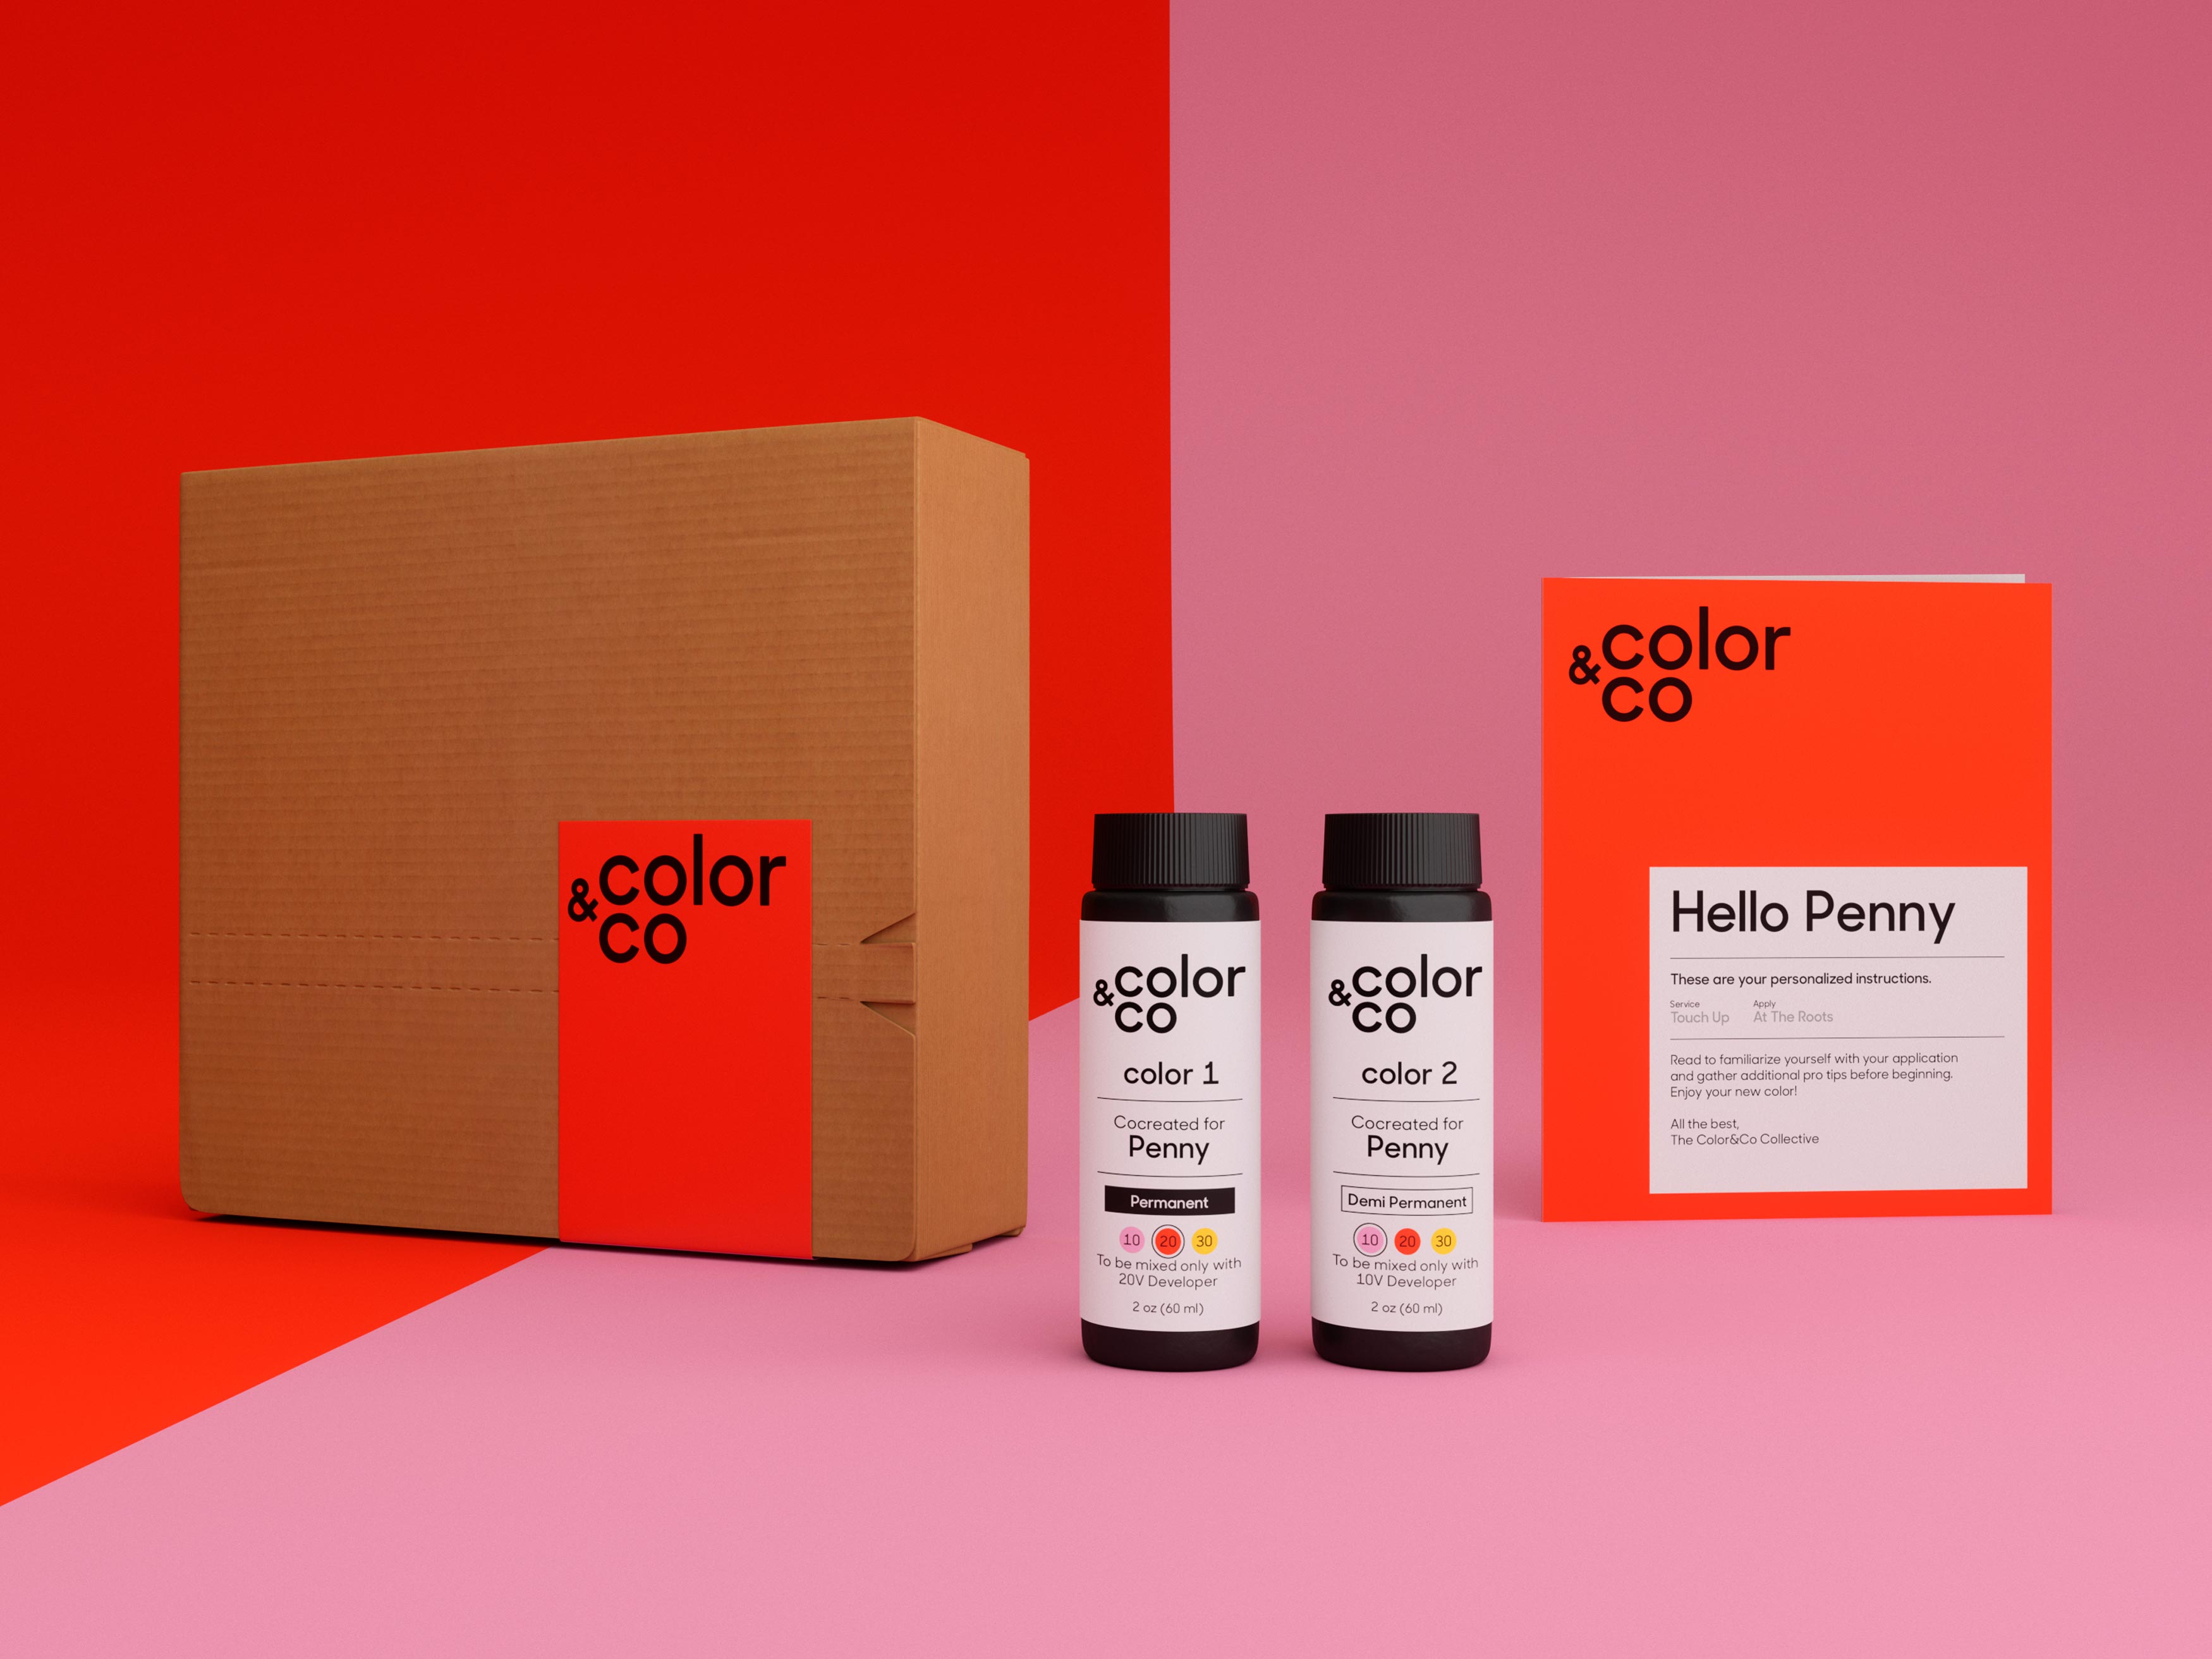
The worst thing you can do here is go rogue by grabbing a box dye and winging it. First things first: Call — or, even better, FaceTime — your colorist. "If you are already committed to highlighting your hair at home, talk with your colorist and have them put together a color kit for you," Hughes advises. "During this time, many stylists are offering at-home color kits for clients who are desperate and safely staying at home. This way, you have the exact formula you normally get when you're in the salon."
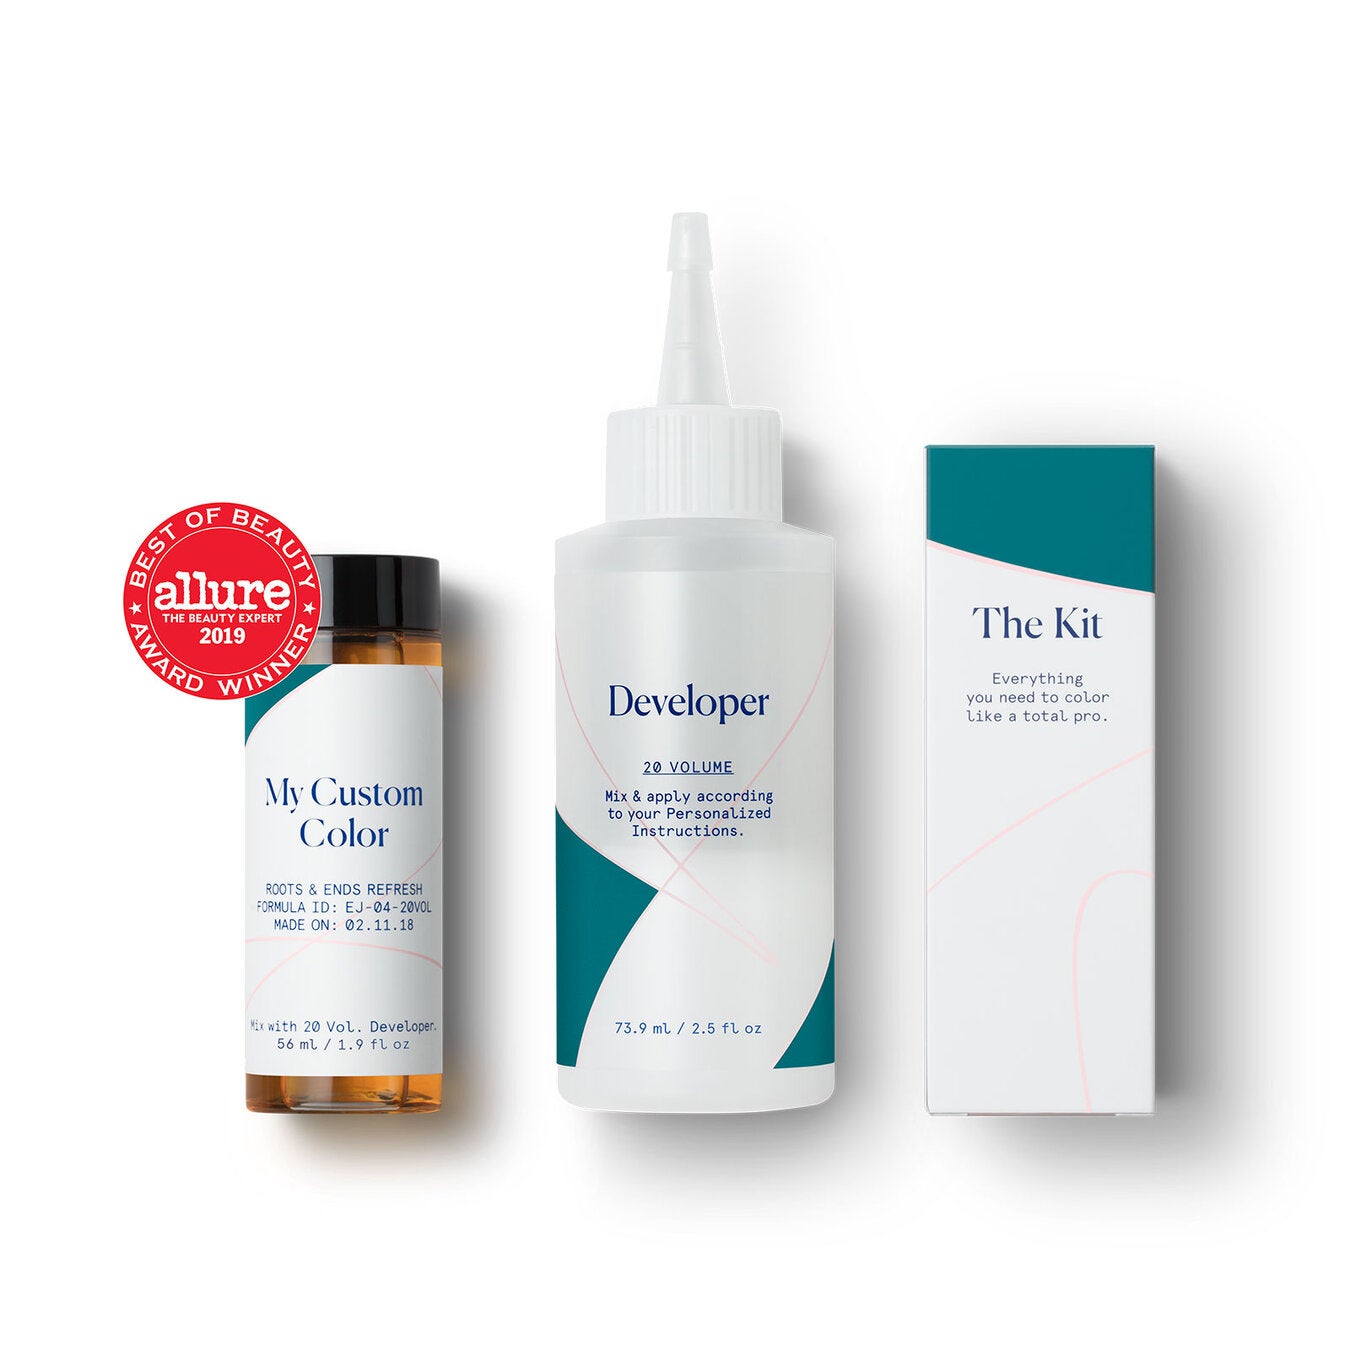
A personalized kit from your usual salon is the best-case scenario, but if that's not an option, you can try ordering a custom kit online. Some made-to-order sites, like eSalon, will have you take a hair quiz and personalize a shade formula based on your answers — which is the next best thing.
Work Only Around The Face Frame
Once you have the ingredients for success — a lightener, developer, directions for mixing the two, and dry hair — you can focus on the highlight application. According to Hughes, you'll reduce your margin of error if you focus only on the strands around your face (which are the only ones that even matter on a Zoom call, anyway). "I would recommend only highlighting the front hairline area," he says. "It's the hair that accents the face that most people want the lightest. Plus, even if it doesn’t turn out perfect, you won't have to fix your entire head when you return to your stylist."
AdvertisementADVERTISEMENT
Go Strand By Strand
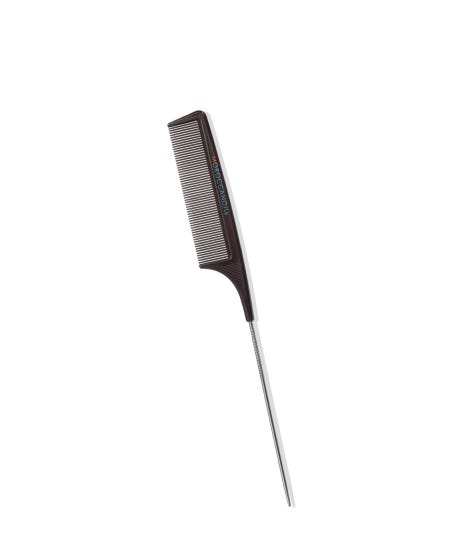
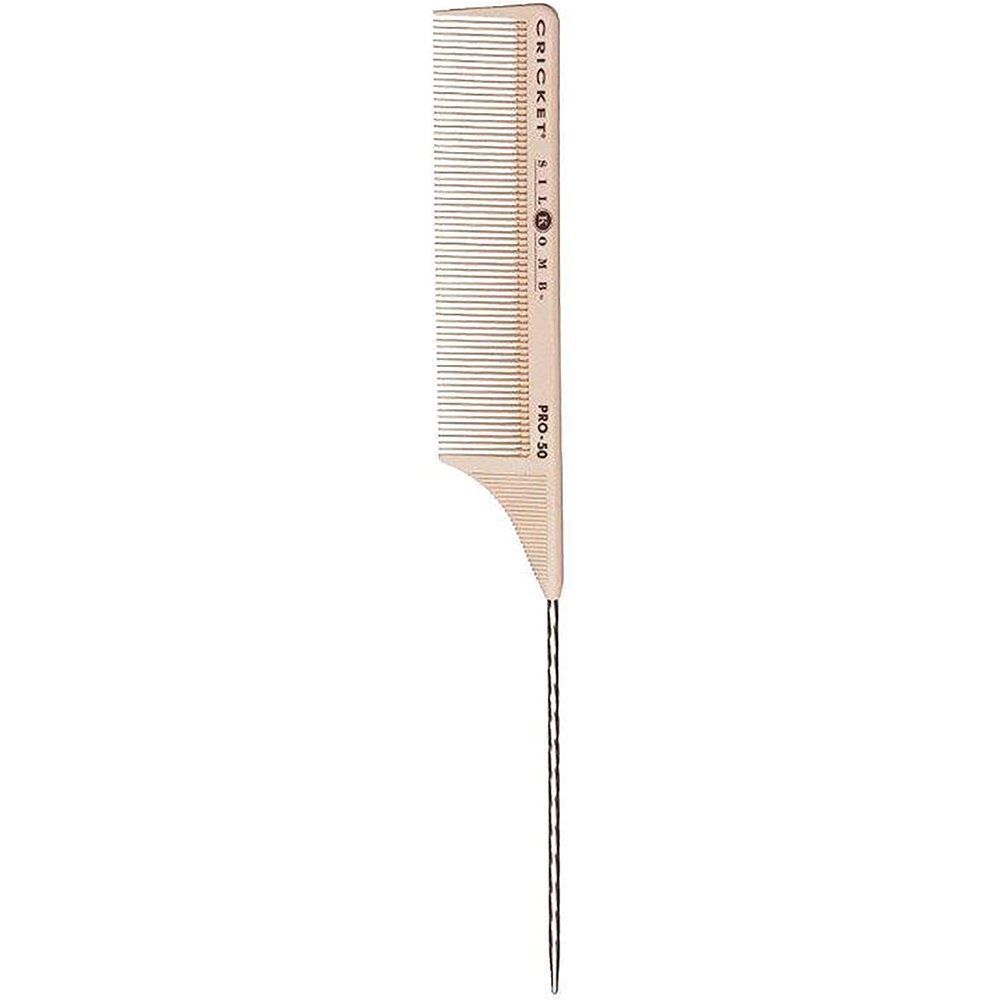
If you're quarantining with your significant other, roommate, or even your younger brother, have them help you out. "Someone else will have a better vantage point and dexterity when it comes to brushing through your roots," Hughes explains. Stress to your new assistant that the process should be laborious and precise, and arm them with a rattail comb. "Moroccanoil makes a great one that has a metal end, which really helps the colorist weave through the individual strands," Hughes says.
Weave & Foil
With your dry strands separated, you're good to grab your lightener, bleach brush (a clean toothbrush works in a pinch), and foil. "Place a small piece of foil underneath the strand you want to highlight, lay the hair flat on the foil, pick up a small amount of the lightener mixture with a brush, and gently paint the root area evenly with the lightener," Hughes instructs. "Try to keep lightener off any previously-highlighted hair, but if you accidentally touch it, just use a damp towel to wipe it off. Remember, if the lightener sinks into the hair follicle, it will lighten it — and you don’t want weird splotches — so you'll want to proceed with caution. Then, fold up the foil to cover the lightener, and let it sit for the amount of time that your colorist recommends." Usually, this is somewhere between 25-40 minutes.
Rehydrate Your Hair
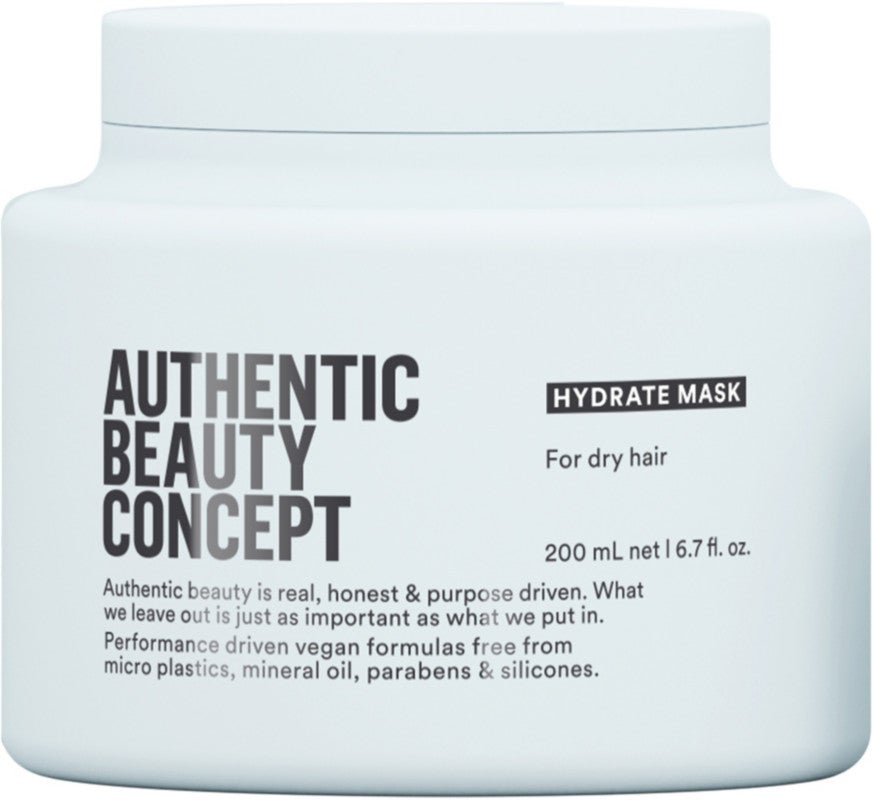
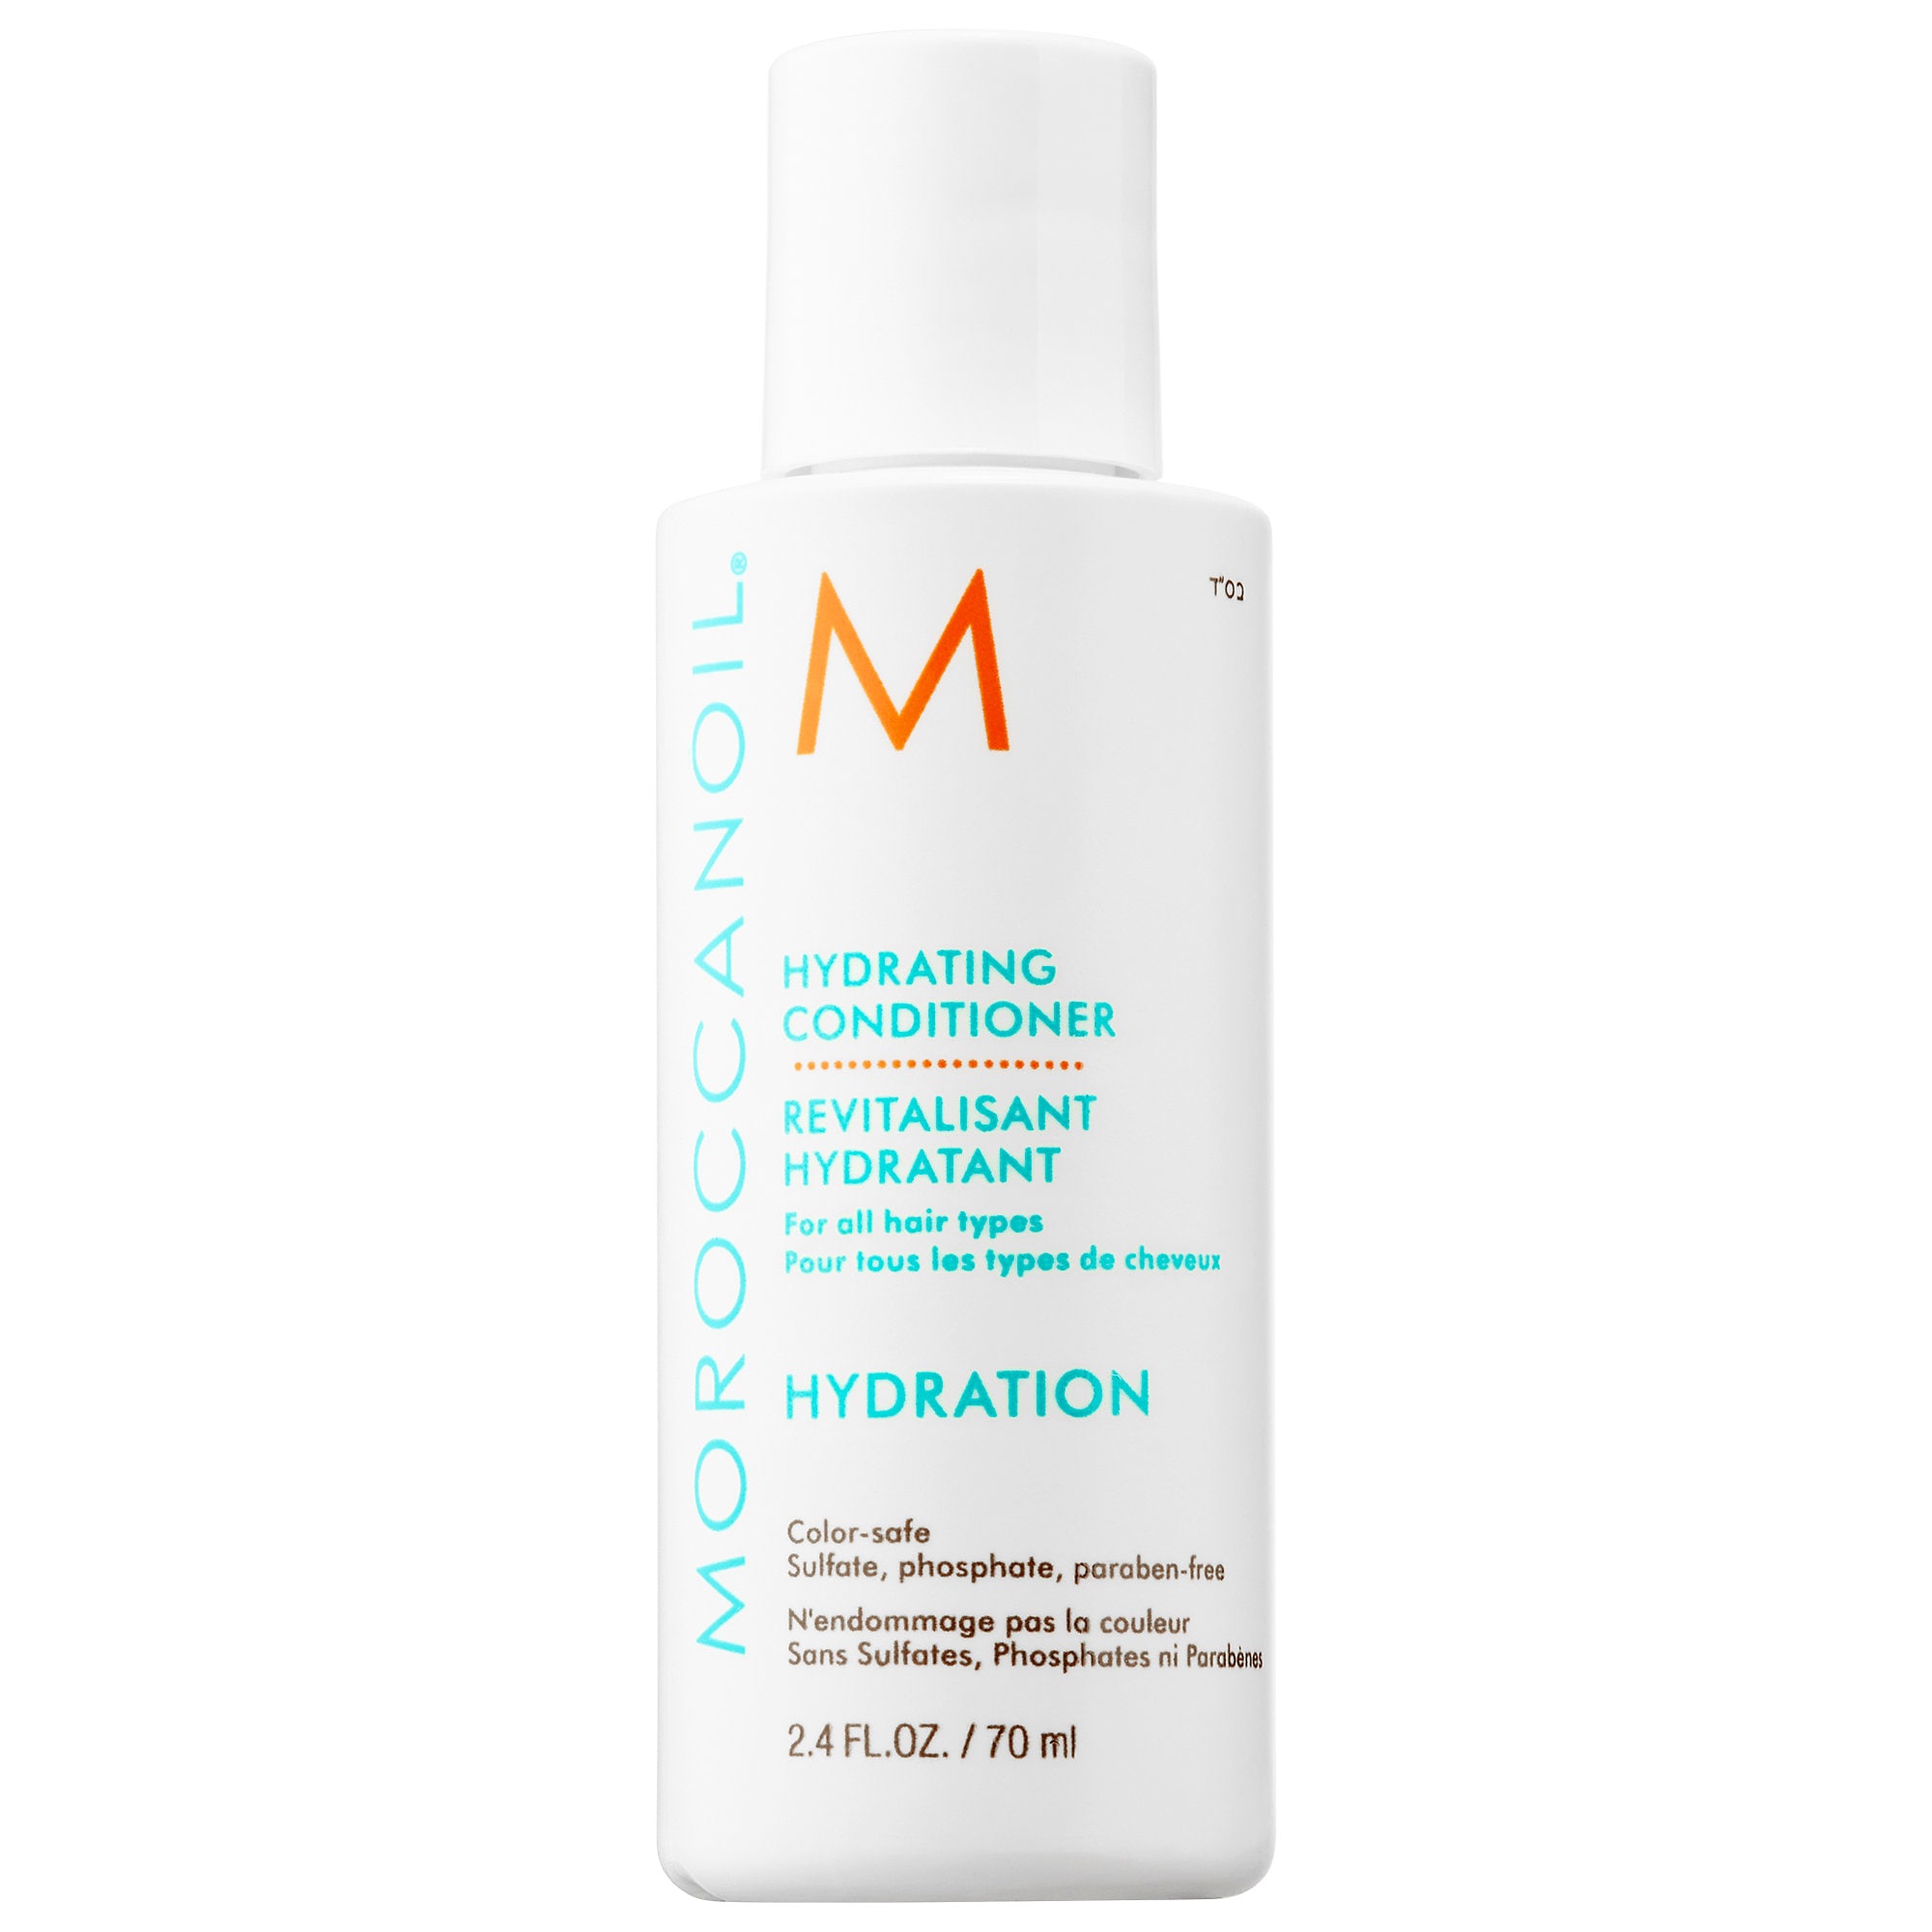
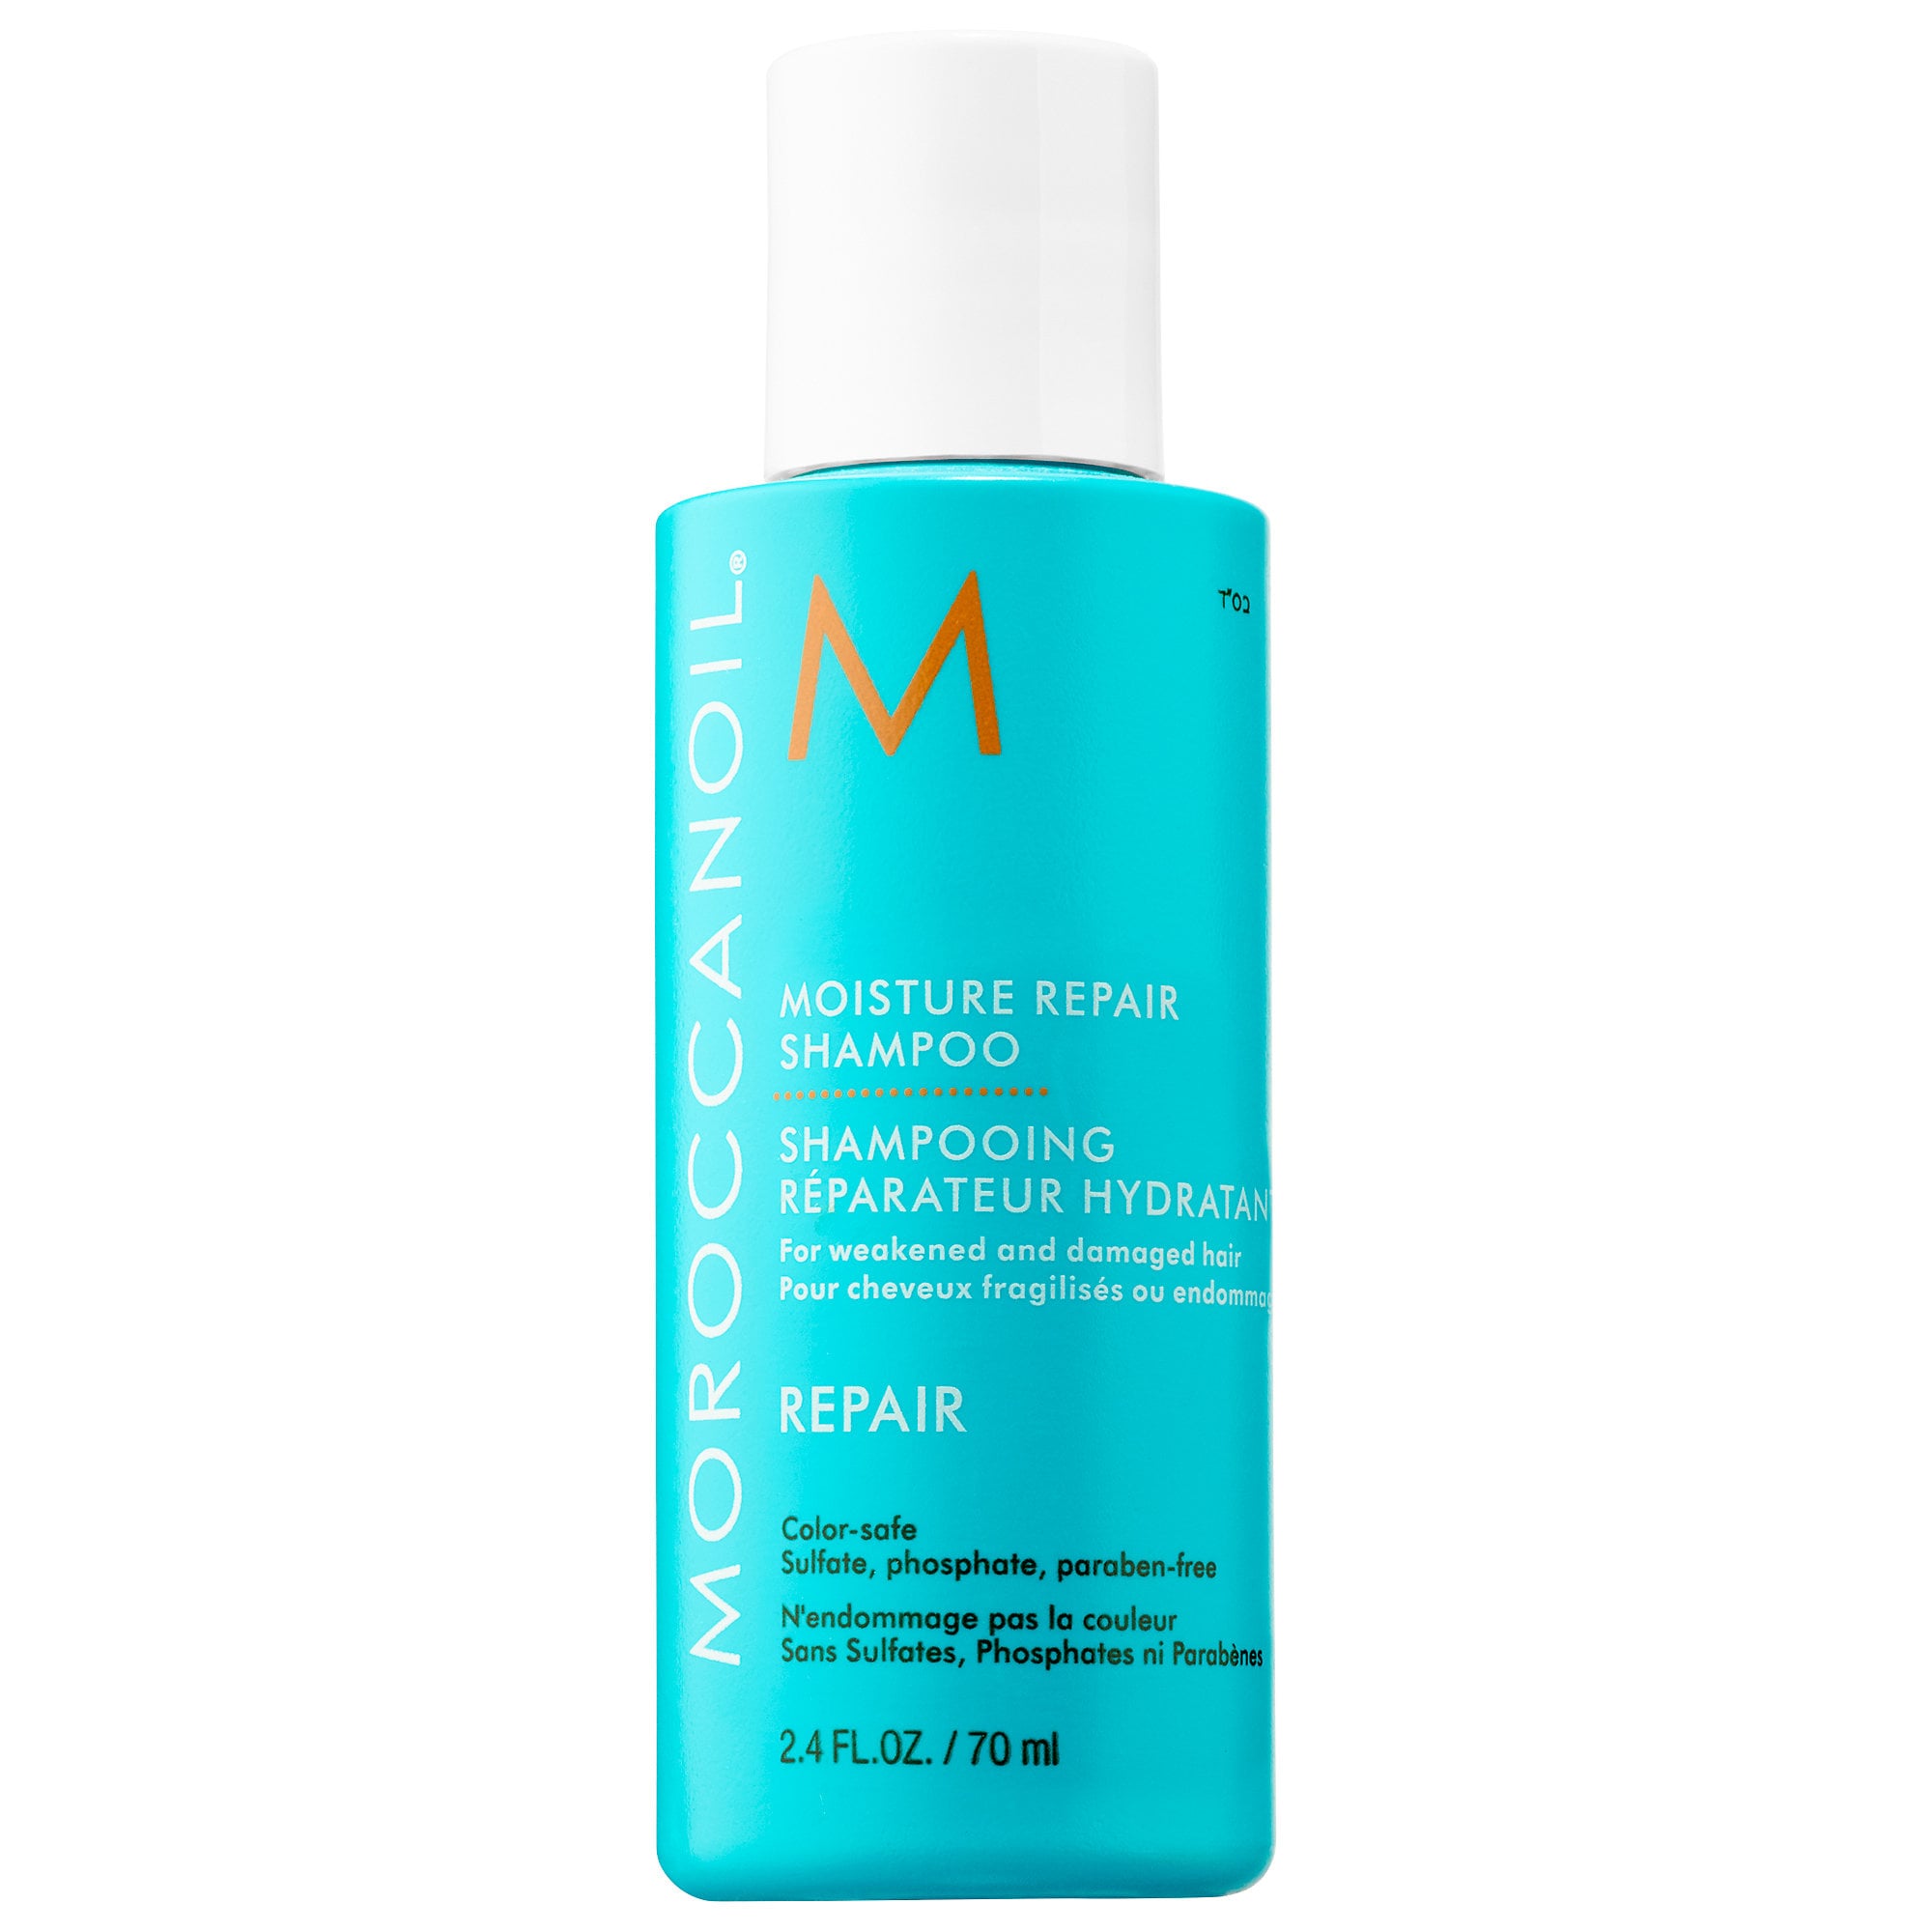
After you've given the lightener the time to do its job, you'll want to peel off the foil and rinse the hair. (Unless you were instructed by your colorist to follow the lightener with a toner, in which case, do that.) "Remove the foils in the order in which you applied them, then rinse, shampoo, and condition the hair," Hughes says. "Any kind of lightener, even if you just hit your hair with lemon juice, will make your hair dry, so make sure to use a reparative shampoo and deep-conditioning treatment afterwards." Then, maybe try your hand at an at-home blowout — if only to admire your freshly-highlighted hair.
At Refinery29, we’re here to help you navigate this overwhelming world of stuff. All of our market picks are independently selected and curated by the editorial team. If you buy something we link to on our site, Refinery29 may earn commission.
AdvertisementADVERTISEMENT


