


From Siren Eyes To Invisible Eyeliner, Here’s How To Recreate TikTok’s Buzziest Eyeliner Trends
From propelling products into virality to persuading millions to try unexpected — and let’s be honest, sometimes questionable — tips and hacks, TikTok’s influence in the beauty space is undeniable. What’s particularly fascinating about the platform is the rate at which new makeup trends and aesthetics grow and spread; how one 15-second clip is stitched by one, then 10, then thousands of users trying their hand at recreating the look until it’s literally inescapable.
Over the last few months, we’ve seen three trends in particular take over our FYPs, all of which take the classic cat-eye to the next level: siren eyes, doe eyes, and invisible eyeliner. Together, these looks have amassed upwards of hundreds of millions of hashtag views, and compared to some other buzzy makeup trends of recent months (we’re looking at you, Neopolitan ice cream contour), they’re all relatively easy to recreate, requiring minimal steps, products, and skill. (And for anything that does require some skill? Trust us, there’s a hack for it.)
AdvertisementADVERTISEMENT
Naturally, we’re curious to try out these trends for ourselves, so we partnered with Target — our destination for all things beauty — to dive in deeper. We tapped three Black beauty gurus of TikTok to walk us through how they recreate each look and make it their own. Keep reading for a rundown of each trend, a step-by-step guide to getting the look, and the key products you’ll need to pull it off.
Siren Eyes
The siren eye rose to fame this past July, but it's been a red carpet go-to for years due to its ability to elongate and lift the eyes. “This look really draws attention to the eyes and enhances their shape,” muses beauty content creator Mykaila Mitchell. “It just makes me feel really sultry and sexy.”
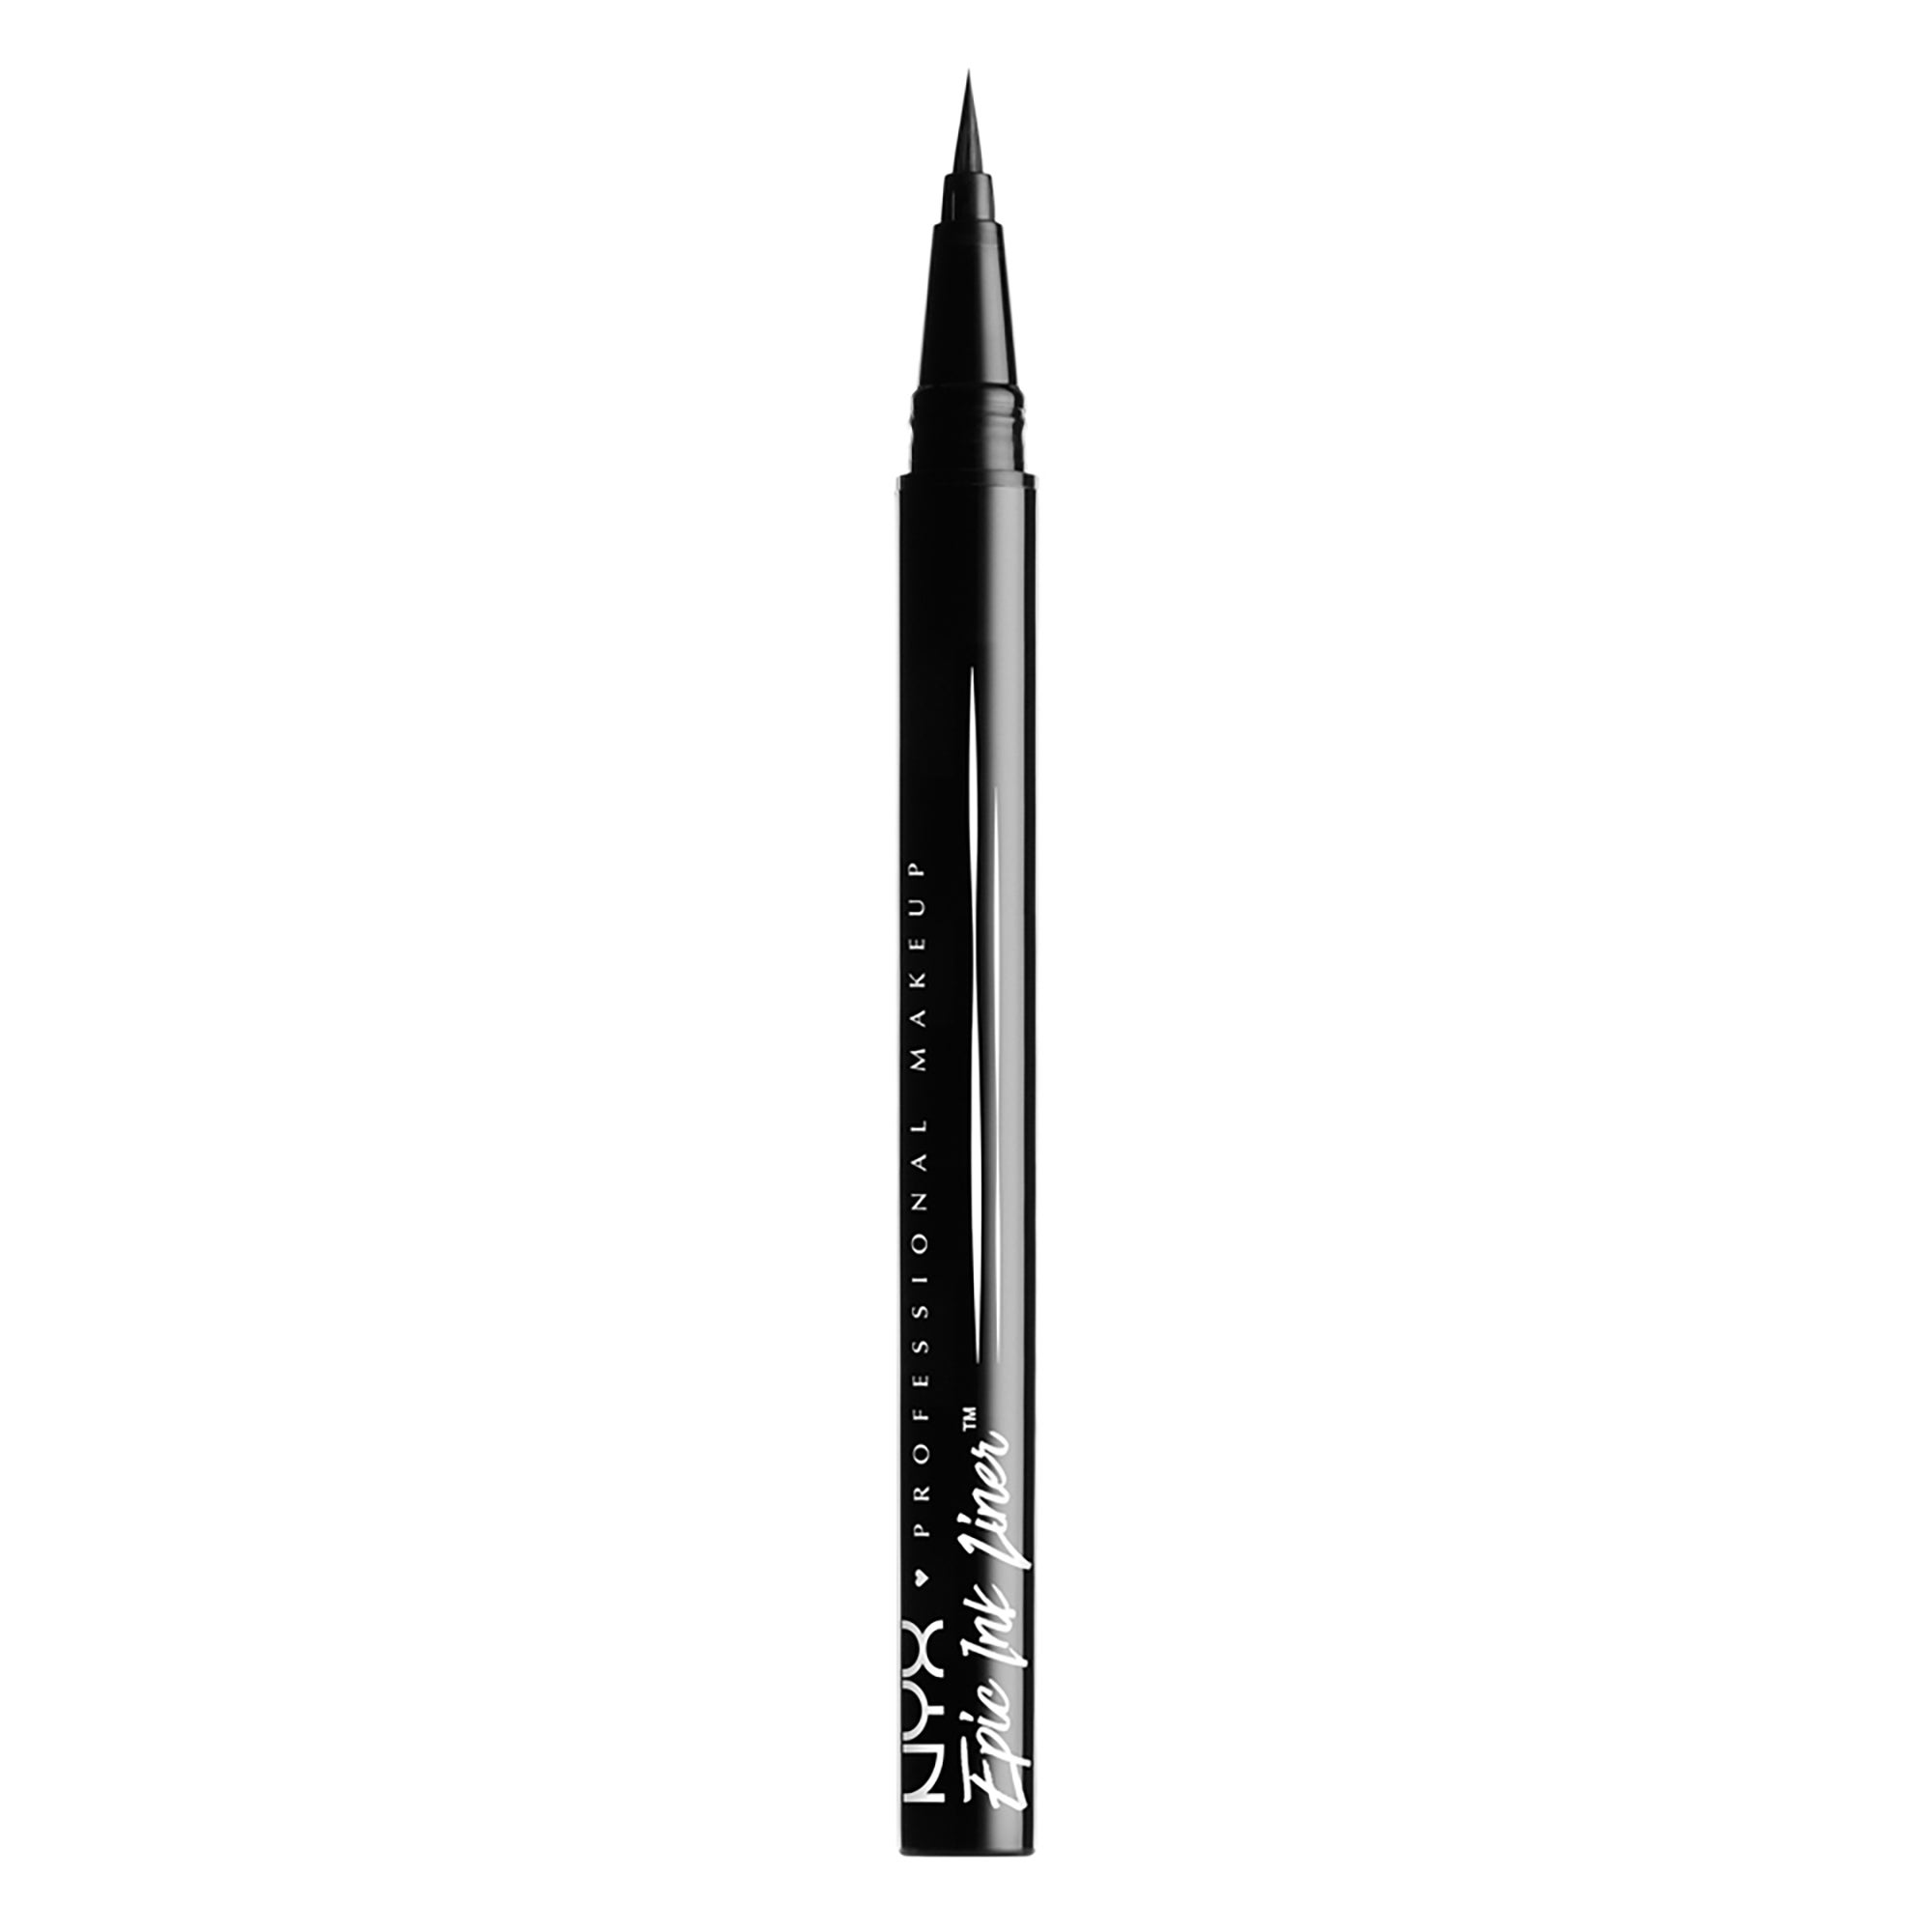
It’s essentially a souped-up version of the smoky eye, characterized by an exaggerated wing that begins with a sharp point in the inner corner that follows through to the outer corners before extending up and out. A quick scroll through the hashtag, and you’ll find many variations of the trend, some involving striking flicks of jet black liquid eyeliner and others with softly smoked-out eyeshadow. Mitchell’s interpretation falls somewhere between the two, using a combination of eyeshadow and an eyeliner pencil to create a soft, smoldering finish — her step-by-step breakdown, below.
@glambymykaila trying out siren eye makeup 🖤✨ #sireneyes #sirenmakeup #makeup #fyp ♬ karma summer walker - rennyxaudios
Step 1: Draw and smoke out your outer wing
On concealer-primed lids, use an angled brush to draw a “guideline” with brown eyeshadow a shade or two darker than your skin tone. Once you have the shape and angle perfected, go over it with deep brown eyeshadow to intensify it, followed by black eyeshadow, which you’ll then smoke out.
AdvertisementADVERTISEMENT
Drawing precise lines with eyeshadow can prove even more difficult than pencil or liquid eyeliner, so she’s a big advocate for using winged liner tools. “I line it up with my eyelid to help create the perfect wing — or, you can also use tape to create sharper lines,” she says.
Step 2: Line your inner corner
To extend the wing into the inner corner, Mitchell uses black eyeshadow and an angled brush to create what she considers a “little baby wing.” Drag shadow from the outer edge of the tear duct to connect with your upper lashline, creating a point, and repeat along the bottom lashline.
Step 3: Swipe on a little sparkle
The dramatic wing may be the star of the show here, but bringing some subtle sparkle into the mix draws even more attention to the eyes. Use your finger to tap a small amount of shimmery shadow to the center of your lids and above the inner corner wing.
Step 4: Smoke out the waterline
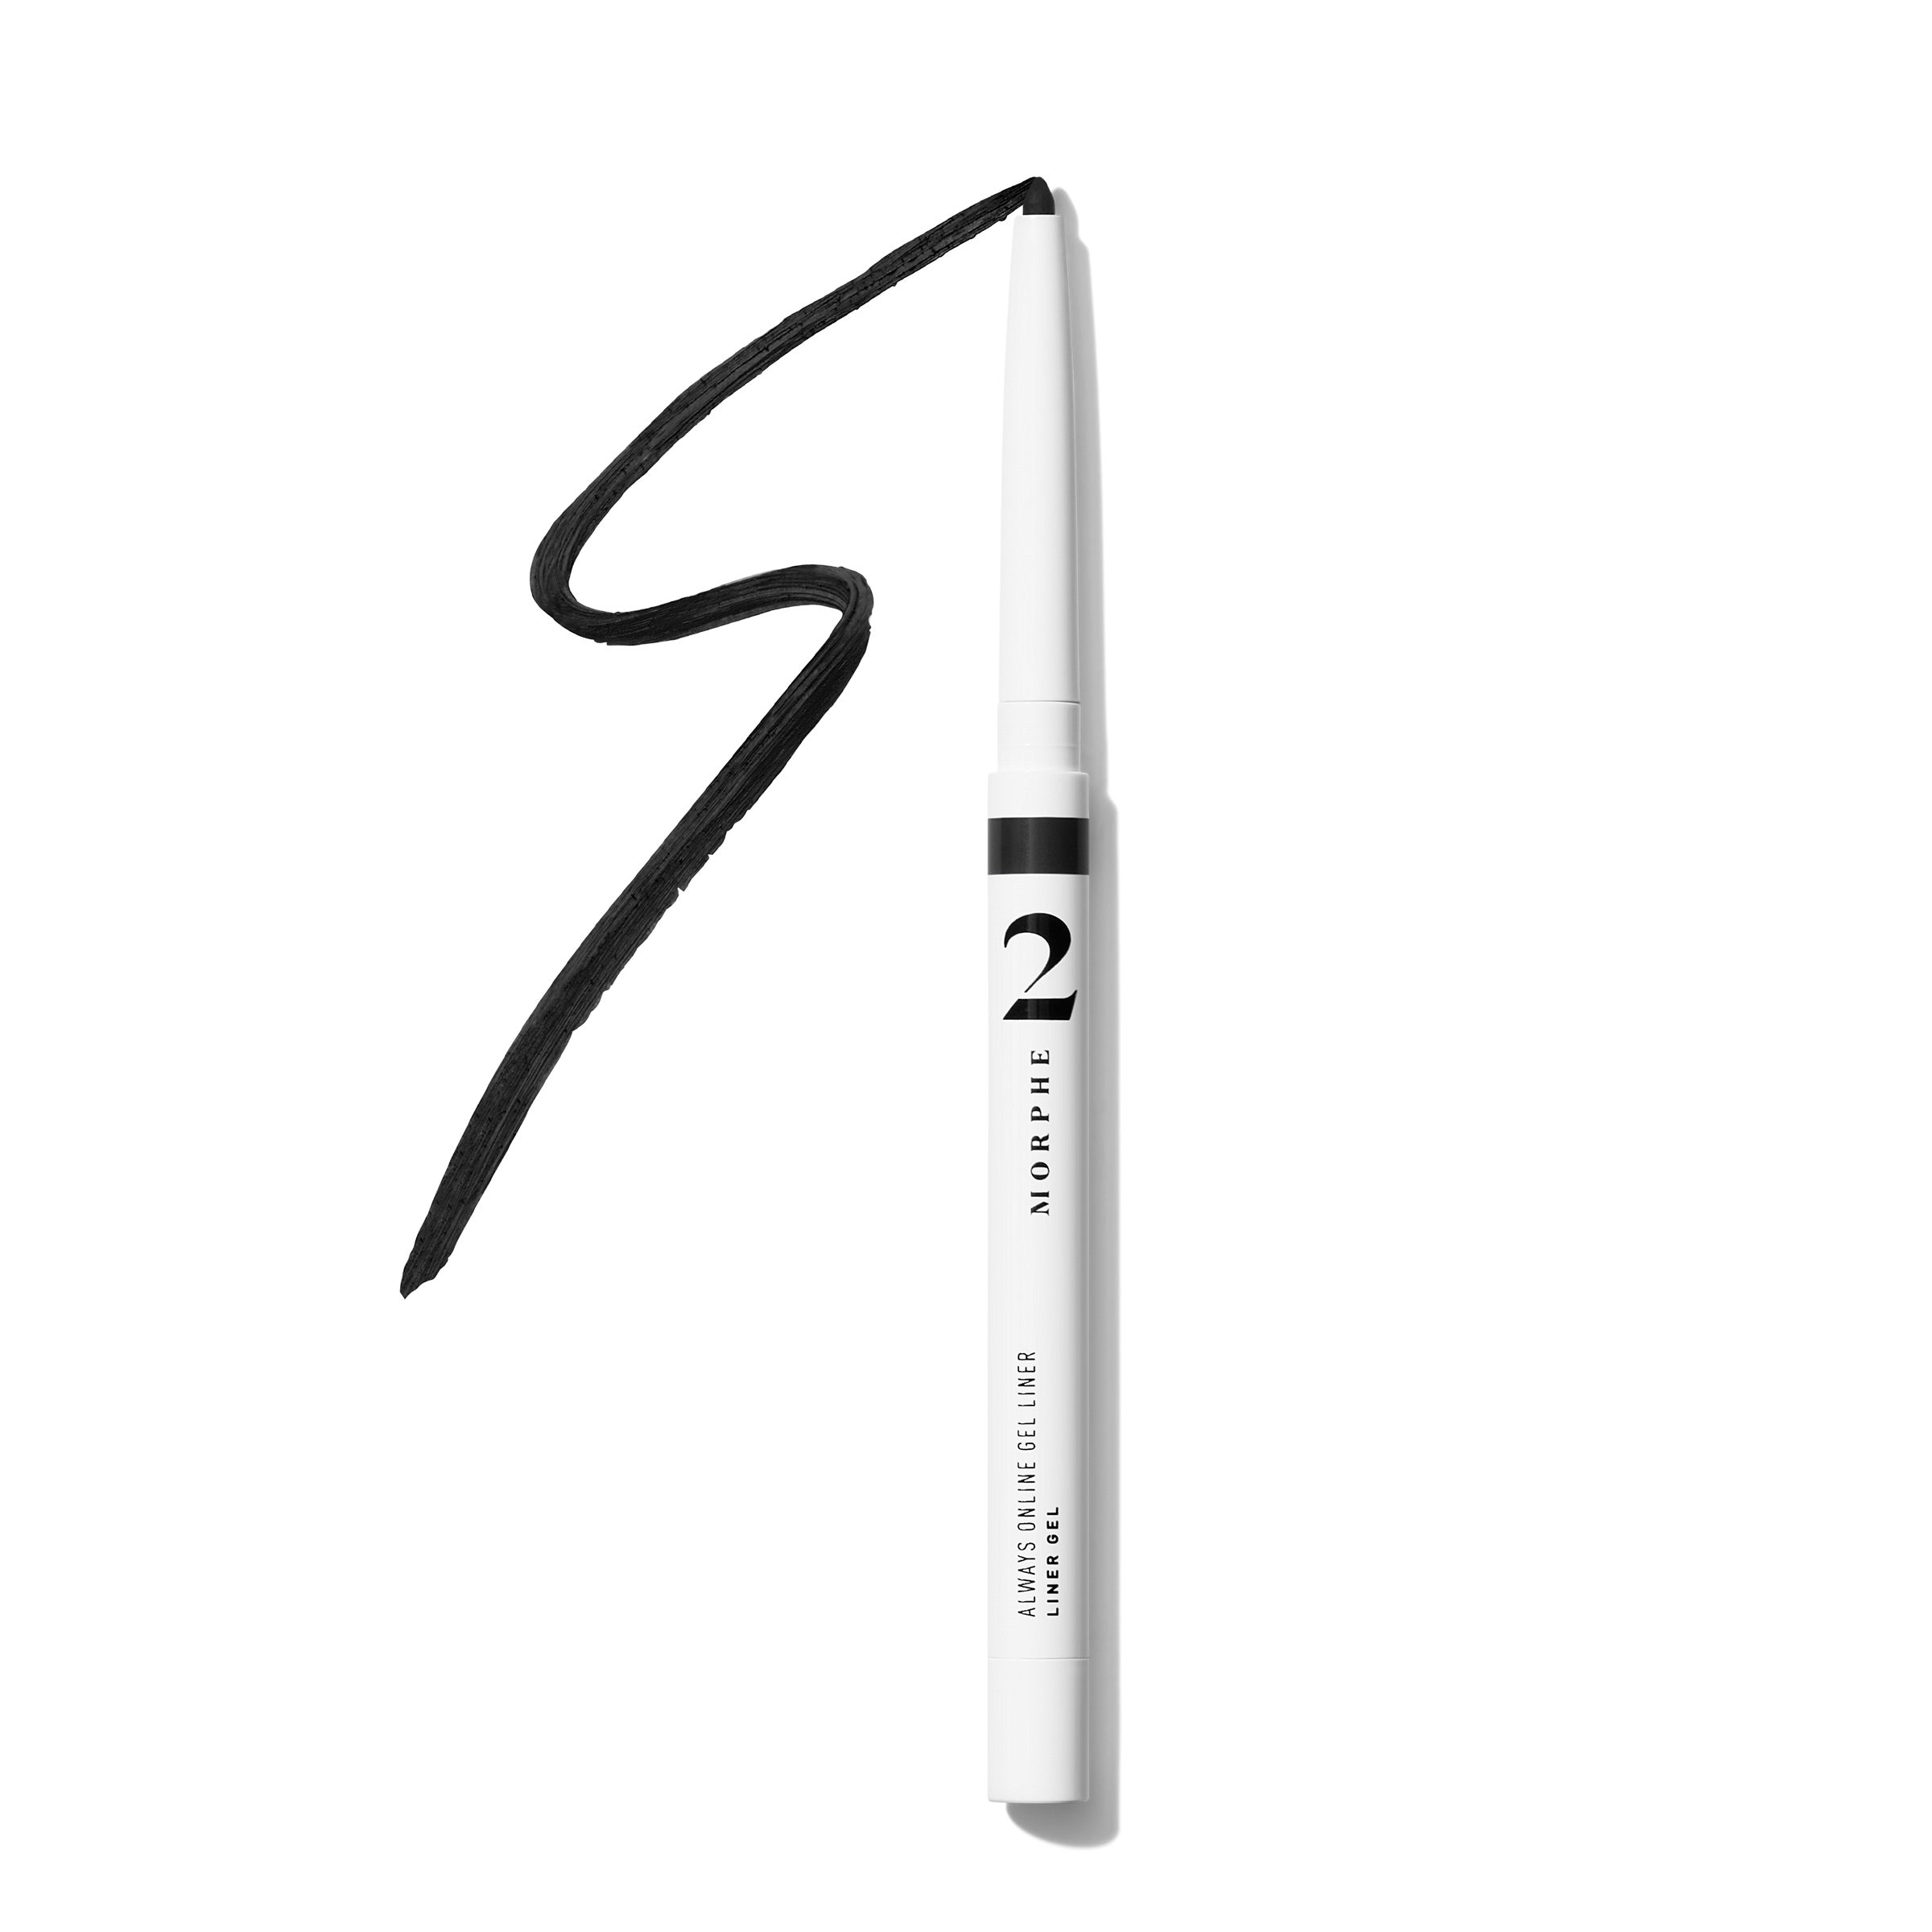
While Mitchell uses eyeshadow for her upper lines, she recommends a gel pencil for the lower lashline since it can be brought into the waterline. After applying, gently smoke it out with a shadow brush.
Step 5: Clean up your lines and complete the look
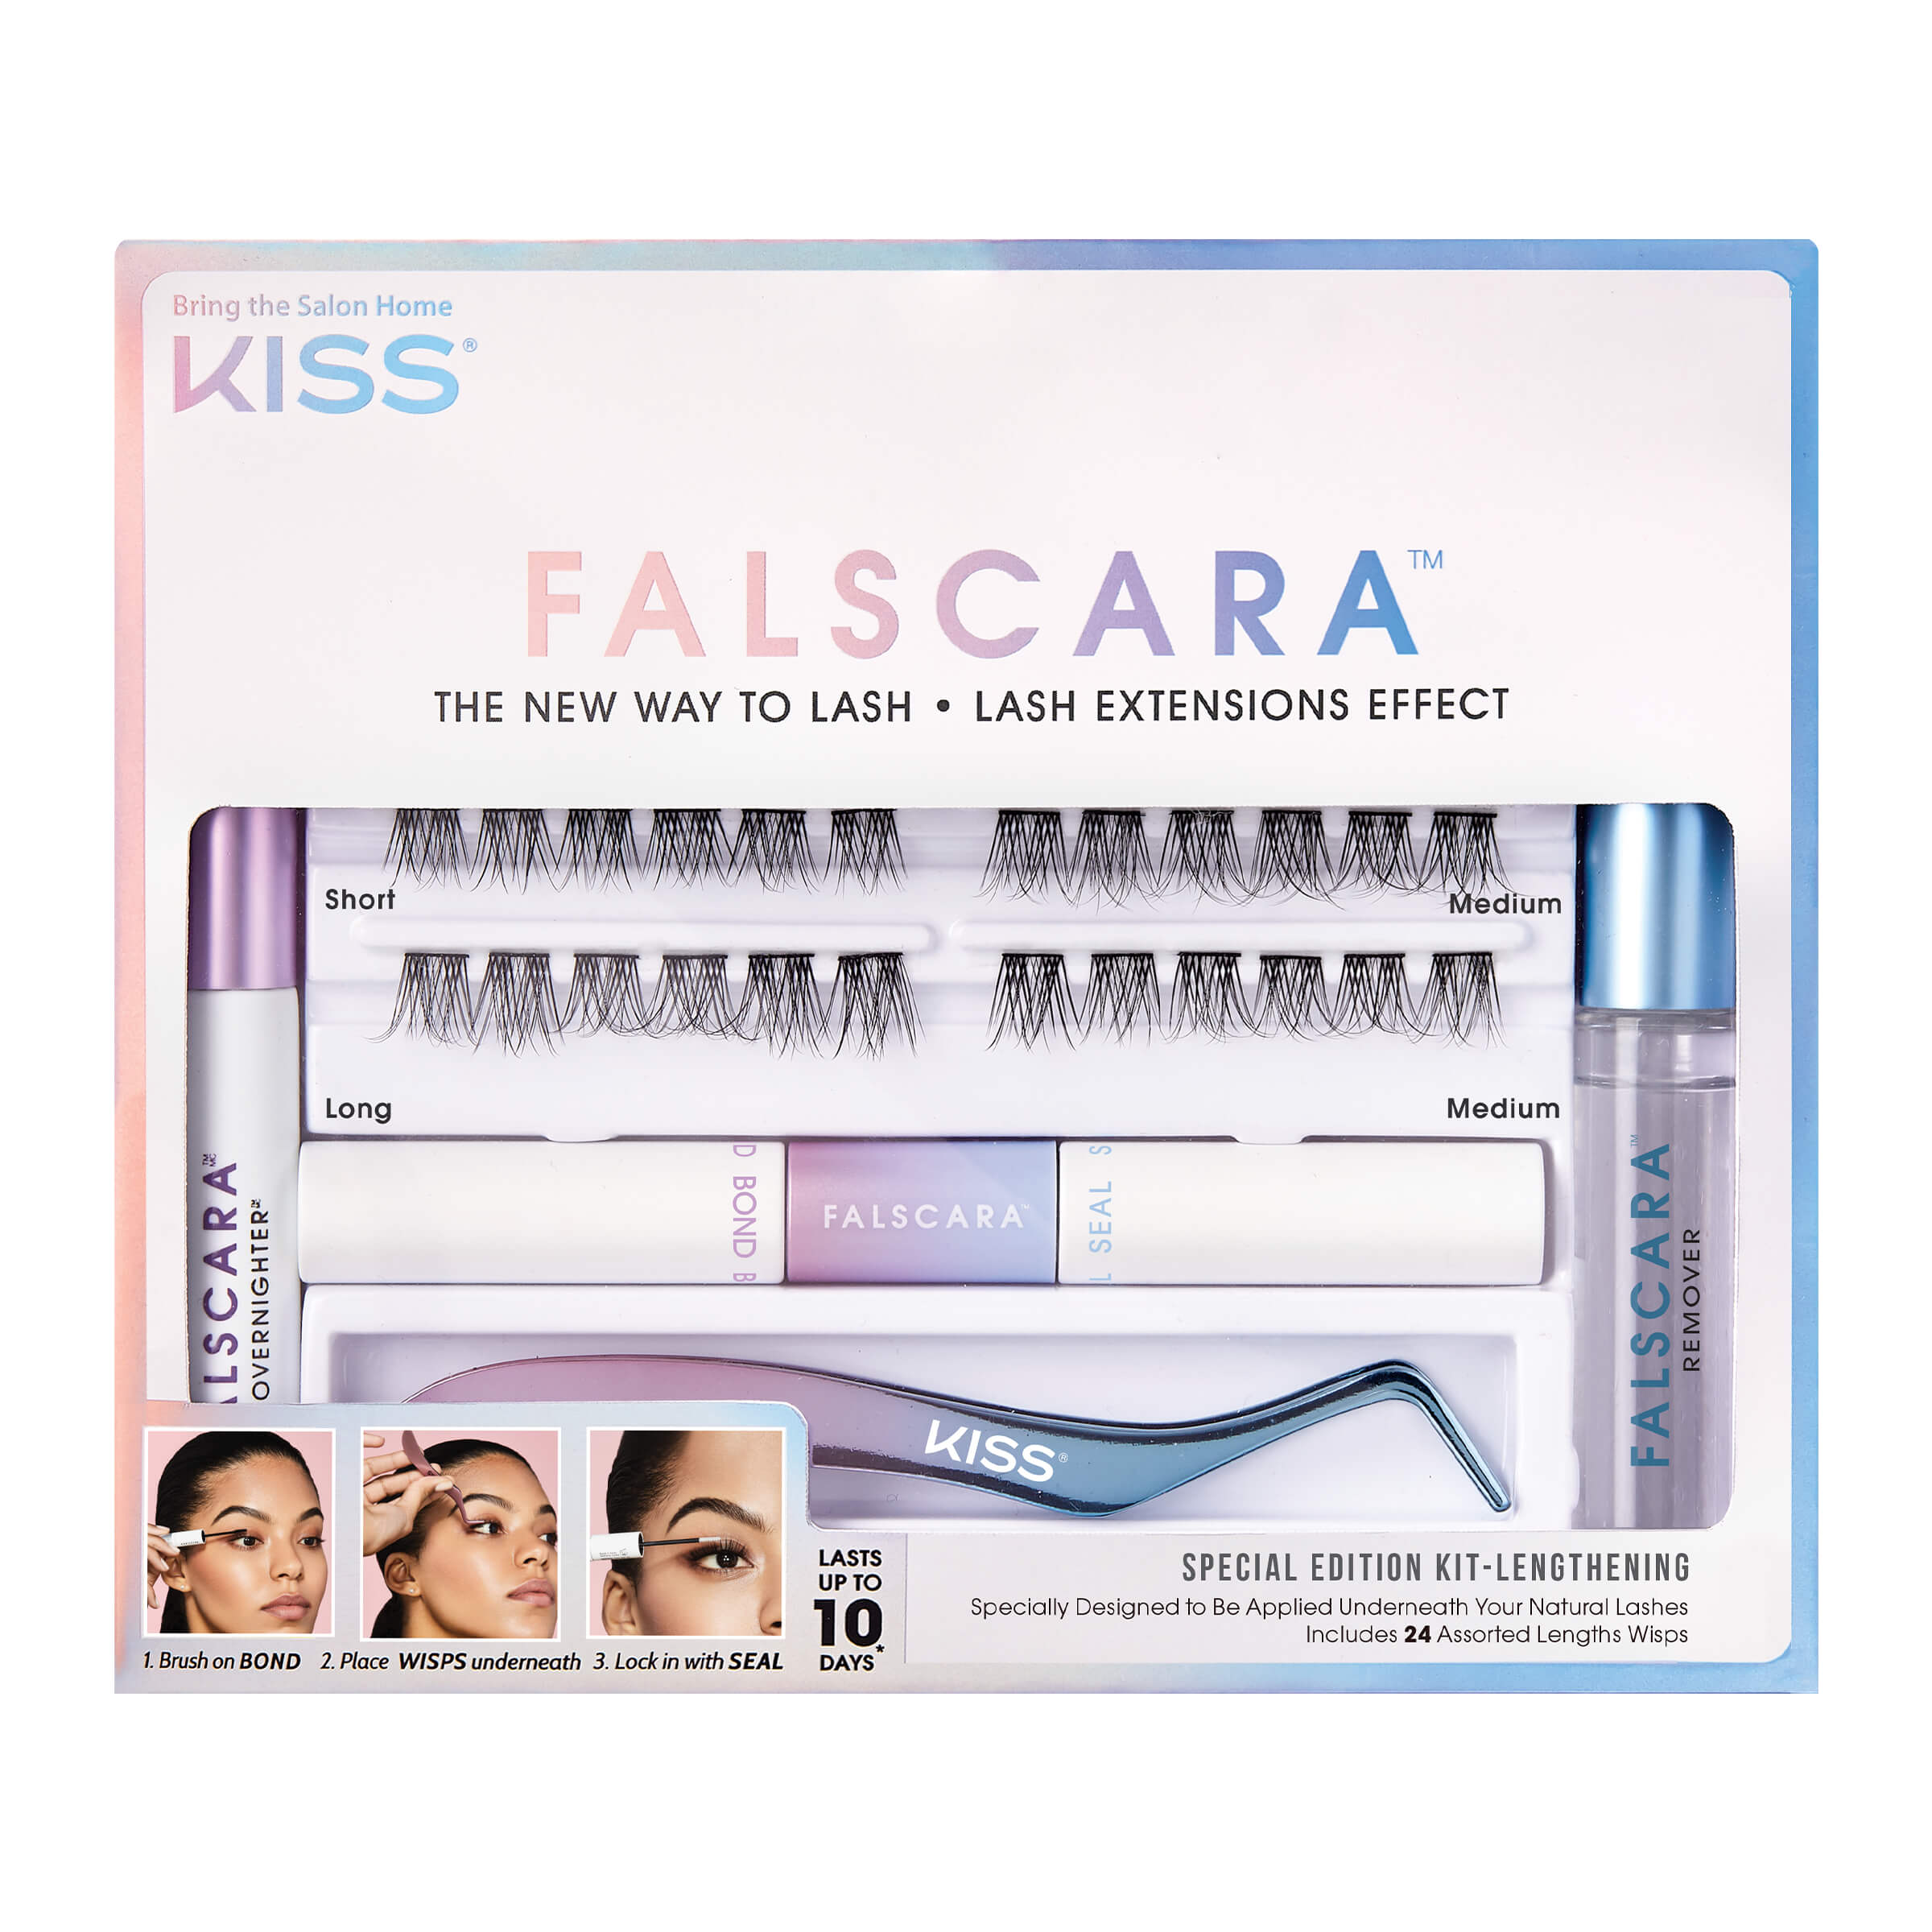
Before you move on to any final touches, Mitchell advises cleaning up any smudges and sharpening your lines with concealer and an angled brush. Then, diffuse a bit of brown eyeshadow mid-brow bone down to the inner corner for added definition, swipe on your favorite mascara, and, if you really want to step it up, apply individual or half lashes, or a full lash that flares out at the ends. “As long as the lash adds an extra oomph to the outer corners of your eye, it’ll help accentuate that narrow, cat-eye shape.”
AdvertisementADVERTISEMENT

Doe Eyes
We can't talk about the siren eye trend without mentioning its counterpart: the doe eye. As the sultry siren's “sweeter” little sister, the doe eye is equally buzzworthy, often appearing alongside the former in side-by-side comparisons to show how differently they transform the appearance of your eye shape. Unlike the extended wing of siren eyes, doe eyes are characterized by a short flicked wing, a white- or cream-lined waterline, and fluttery, fanned-out lashes — all of which make its wearer look, well, doe-eyed. The eyes appear brighter, larger, and rounder rather than lifted and elongated.
"This look makes your eyes really captivating, opening them up and making you appear more awake," notes beauty content creator Kamille Gregory. Keep in mind: the longer the wing, the less "open" your eyes will look. Gregory likes to end hers slightly before the tail of her eyebrow, while others opt for a shorter wing or forgo it altogether, lining only to the edge of the lid. Experiment to see what works best with your particular eye shape and desired outcome, but regardless of wing length, it’s guaranteed to make your eyes pop. Ahead, how Gregory creates the look.
@kamgregory “why do you keep giving me that look” why do you think sir? #doeeyes #sireneyes #makeup #eyeliner ♬ Hotel (Sped Up) - Lawsy
Step 1: Draw on your wing
Beginning with concealer-primed lids, map out the desired length and angle of your wing from the outer edge of your lower lashline. “I like to flick the line straight out, dragging the liner to where I’ll end my wing,” says Gregory. Once mapped, connect it to your upper lashline, working from the outside in. “I connect the tail to the middle of my eye and fill in, and then draw a line from my inner corner to the middle of my eye.”
AdvertisementADVERTISEMENT
If you find liquid eyeliner intimidating, Gregory suggests creating a guideline with a black gel eyeliner pencil. “Gel pencils are way easier to use and clean up if you make any mistakes,” she explains. “Map out the shape as you would above, and then go over it with your liquid liner.”
Step 2: Line the waterline
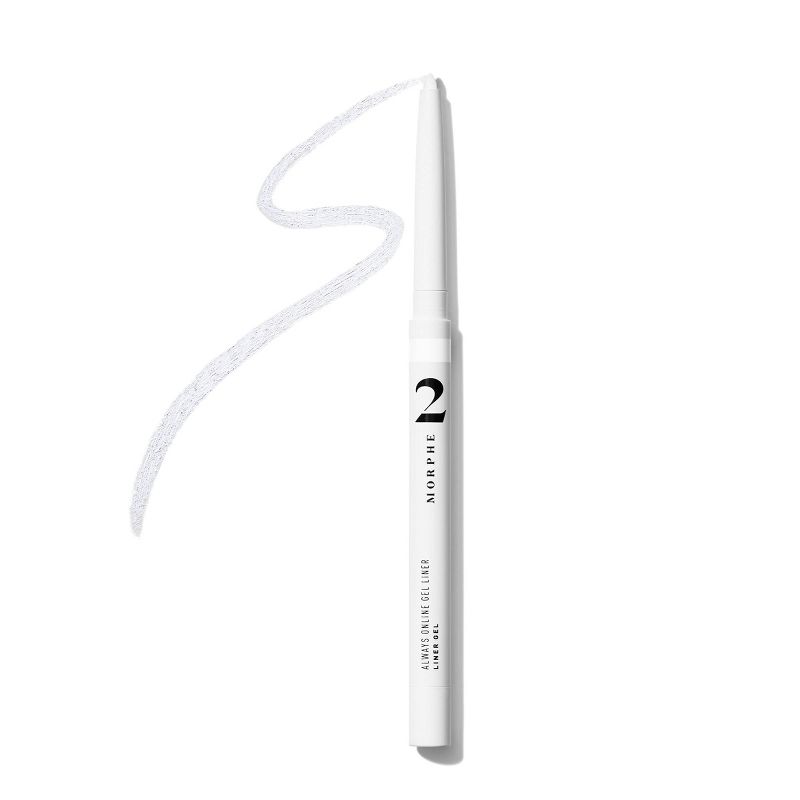
One of the most recognizable characteristics of the doe eye look is the brightened waterline, which makes the eyes appear bigger and brighter. Gregory’s go-to is a white gel eyeliner pencil that makes her eyes stand out, but if you prefer something slightly more natural-looking, a cream shade is a safe bet.
Step 3: Highlight inner corners
An inner corner highlight will also accentuate the eye. “It’s a small step, but it’s really crucial,” notes Gregory. While you can use any highlighter for this step, she recommends using a pencil (great for squeezing into such small areas of the face) in cool champagne hues (which pop nicely against melanin-rich skin).
Step 4: Clean up your lines and complete the look
If your lines aren’t as straight or even as you’d like, clean them up with concealer and an angled brush before moving on to your lashes. Because this is a lash-heavy look, Gregory recommends applying mascara to both the top and bottom lashes and fanning them out — and if you want to up the glam factor, apply a set of false lashes, too.
Invisible Liner
If you sweat at the thought of drawing precise lines with unforgiving black eyeliner, this final trend’s for you. Invisible eyeliner, also known as transparent eyeliner, has amassed millions of hashtag views on TikTok. Despite its name, the technique doesn’t actually involve eyeliner at all. Instead, concealer is used to create an outline of a wing, which is buffed out along the outer edges, the negative space creating the illusion of a wing.
AdvertisementADVERTISEMENT
Choosing the correct shade concealer is crucial; otherwise, it'll be too invisible. ”If it’s too close to your skin tone, it'll just look like your foundation once you blend it out,” explains beauty content creator Mia Nicole. To ensure you’ll get the effect, she suggests choosing a concealer that’s at least two shades lighter than your foundation (Target has plenty of options with extensive shade ranges to choose from).
While the look is subtler than a classic wing, it still provides a similar effect: "It gives a natural lift to the face and eyes — the more angled the invisible liner, the more lift it will give,” she explains. Moreover, the simplicity of the look also allows for a lot of versatility and creativity. “You can go natural or glam with it,” she adds. “Typically, I'll finish it with mascara and an inner corner highlight, but when I'm going more glam for night, I'll add a pop of color to my lower lashline, some rhinestones, or eyeshadow to my crease.” Whether you opt for a subtle or a full glam moment, you'll need to nail the technique first, which she breaks down below.
@miss_mianicole invisible eyeliner trenddddd✨ #invisibleeyeliner #makeuptrend #makeup #makeuplook ♬ BREAK MY SOUL - Beyoncé
Step 1: Create your wing outline
Apply liquid concealer to an angled brush and draw two angled lines from your outer corners, connecting them to create your desired wing shape. "Basically, you're outlining an eyeliner wing without filling it in,” explains Nicole. For the most precise lines, she suggests using makeup tape. "Then you'll just have to outline wherever you place the tape — once you take it off, your lines are clean and good to go. It also gives you an idea of what the finished liner will look like before you even start."
AdvertisementADVERTISEMENT
Step 2: Blend it out
Once your lines are drawn, take your blending brush and buff out the harsh outer edges, creating the crisp outline of a wing. Nicole suggests waiting 30 to 60 seconds after applying your concealer before buffing so the concealer can slightly set. "That way, the inner line will stay in place as you blend out the outer edges," she says.
Step 3: Complete the look
Once your invisible line is applied, you can add any finishing touches. In its simplest form, a few swipes of mascara and a dab of shimmery shadow in your inner corner will do, but, as Nicole suggests above, you can make it your own by adding pops of color, appliqués, and more.

AdvertisementADVERTISEMENT