


From play-it-safe baby pink to more daring designs, Pinterest is a treasure trove of nail art inspiration. While the app is certainly inspiring, the never-ending number of options is more than a little overwhelming, despite the handy search shortcuts it has introduced (you can now break down your search by “simple nail art”, “easy nail art” or by skin colour). So to make your life easier, I’ve done the scrolling to find six of the coolest nail art designs you can DIY yourself — and I tested them all out at home.
AdvertisementADVERTISEMENT
Before we get started, I have to stress that I’m no expert, which you’ll probably deduce from the images below. I certainly didn’t cheat by going into a nail salon. In fact, the whole reason I started my own nail art journey was because sitting in a nail salon used to send shivers down my spine. Think: cuticle cutting, pushing and prodding. One nail technician told me I must’ve had my nails pulled out in a previous life (ouch) so it should help to prove that this is purely an amateur’s work. This is very much an “If I can do it, you can do it too” tutorial.
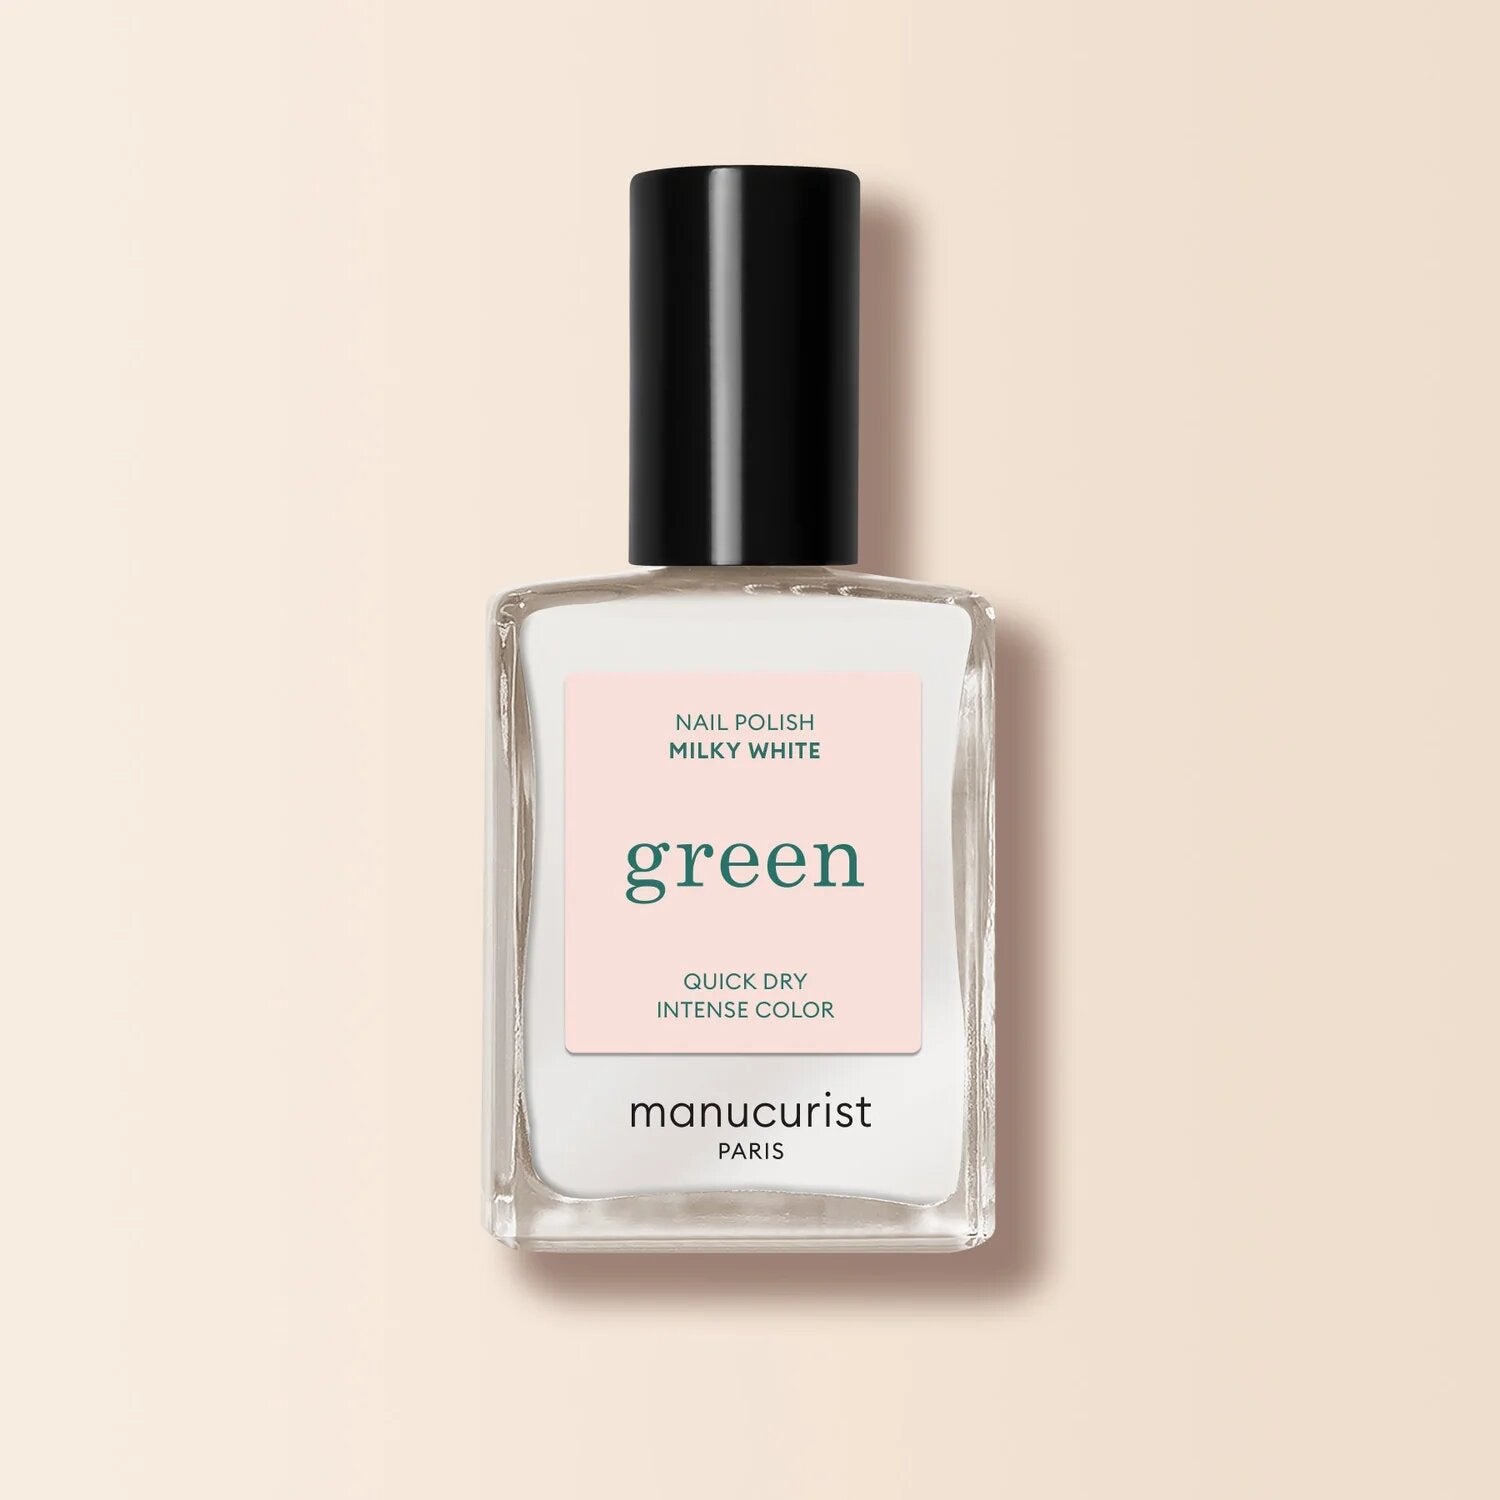
The top trends to try this season, according to our R29 trend spotters, include neutral “hot chocolate” nails (my personal favourite), French tips with bright or rainbow colours and half-moon manicures (which are pretty challenging). Then there’s moment-making metallic nails, OPI’s bestselling ballet pink shade Bubble Bath and “milk bath” nails using the brand’s milky-white shade, Funny Bunny (apparently, it’s Hailey Bieber’s go-to). Keep scrolling to see just how difficult each manicure is to do at home and how they look IRL.
At Refinery29, we’re here to help you navigate this overwhelming world of stuff. All of our market picks are independently selected and curated by us. All product details reflect the price and availability at the time of publication. If you buy or click on something we link to on our site, we may earn a commission.
AdvertisementADVERTISEMENT
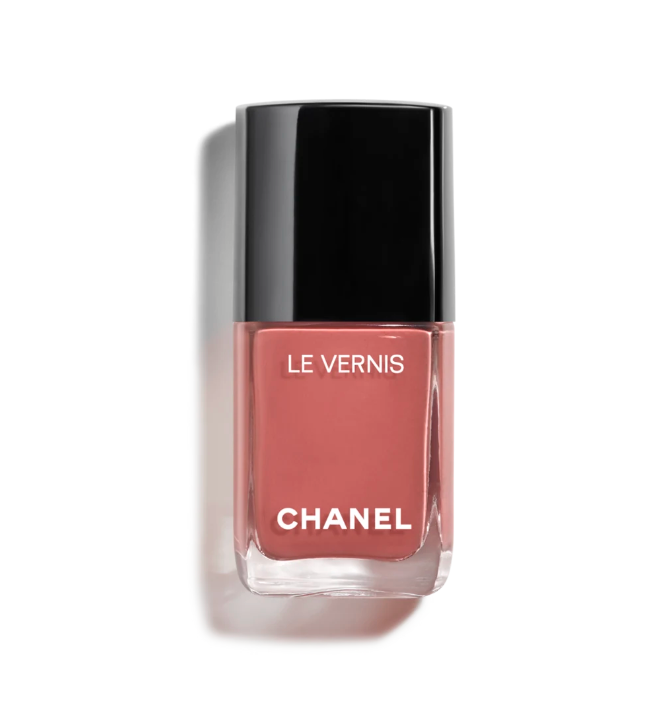
“Hot chocolate” nails
By the professionals...
By me...
Difficulty rating: Easy
Time taken: Five minutes max
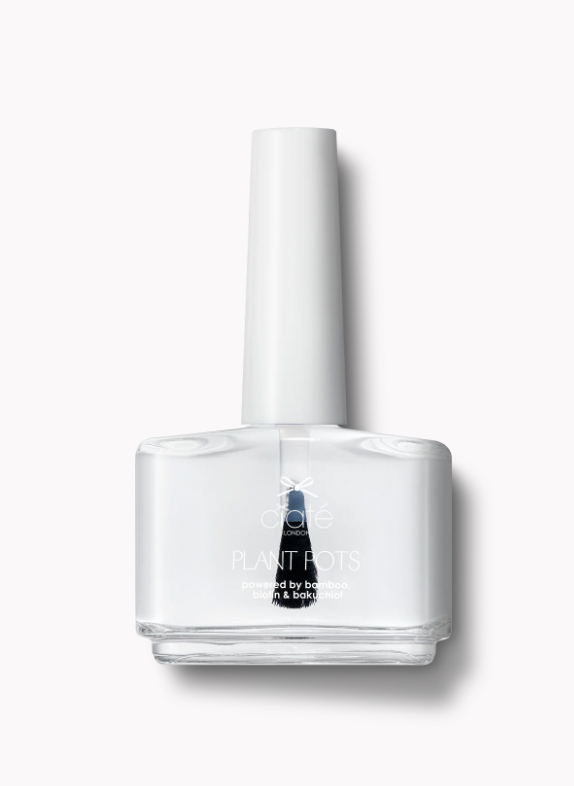
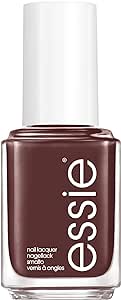
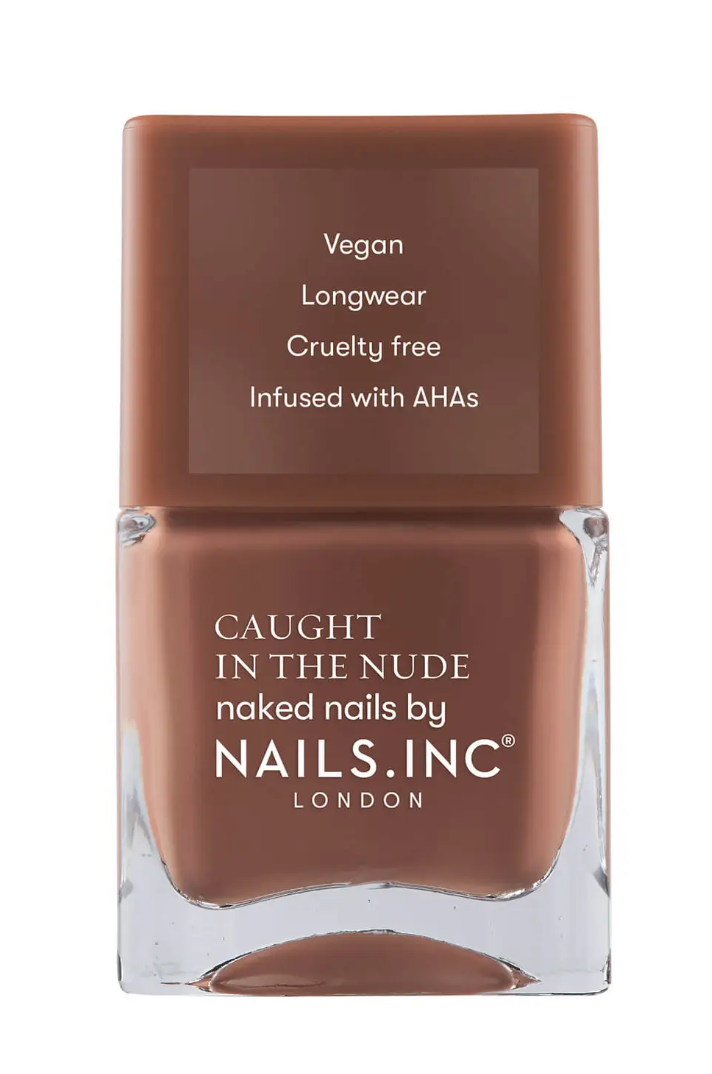
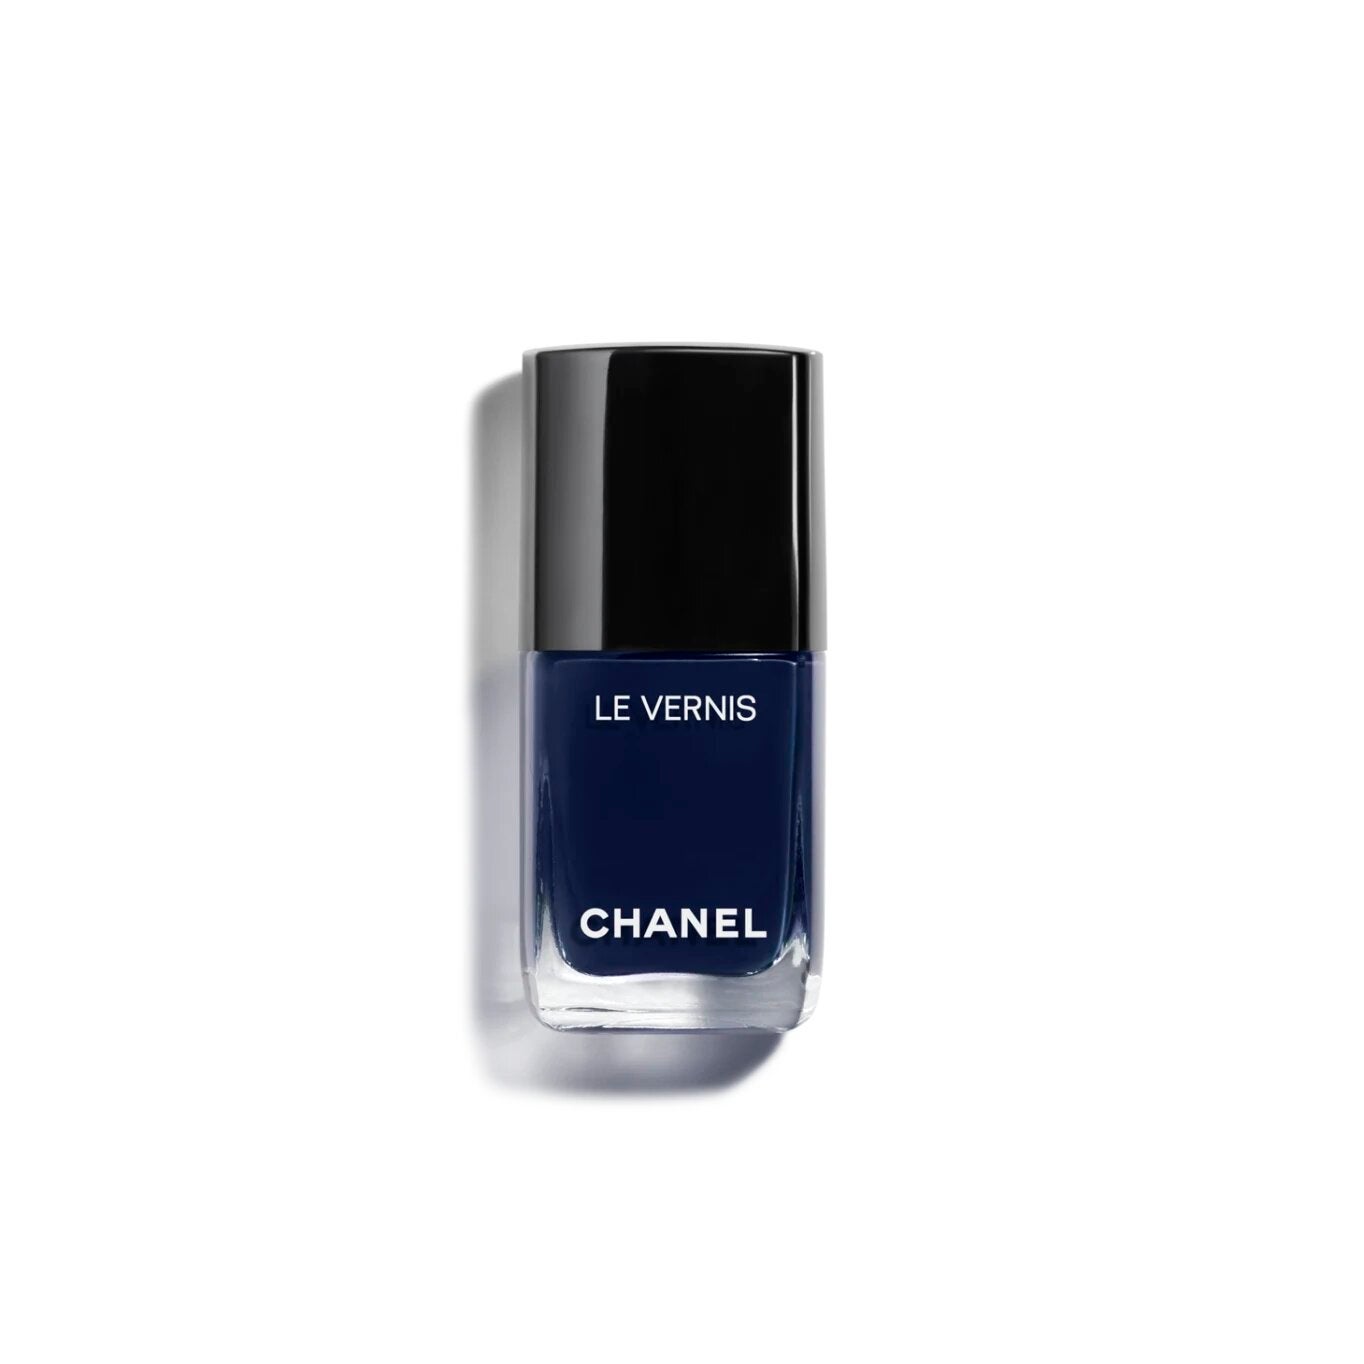
As someone who likes to keep things nice and neutral, hot chocolate nails are the perfect pick. Inspired by a wide range of deep brown shades, there’s a huge number of colours to choose from, from the redder options such as the Chanel polish I went for (Passe-Muraille, £29) to earthier shades like Essie 897 Not To Do, £8 (which you can see used above by the professionals at Essie). Ensure the chocolate shade is seamless and even across each finger. I found this worked best by first applying a base coat, two slicks of chocolate polish, then topping with a high-shine top coat like the Ciaté Plant Pots Speed Coat Top Coat, £10. As this doesn’t require intricate nail art, if one nail happens to chip, it’s easy to fill it in with polish rather than re-do the whole nail. You should get at least a week’s worth of wear.
How to paint your own hot chocolate nails

Metallic, chrome nails
By the professionals...
By me...
Difficulty: Easy
Time taken: Ten minutes
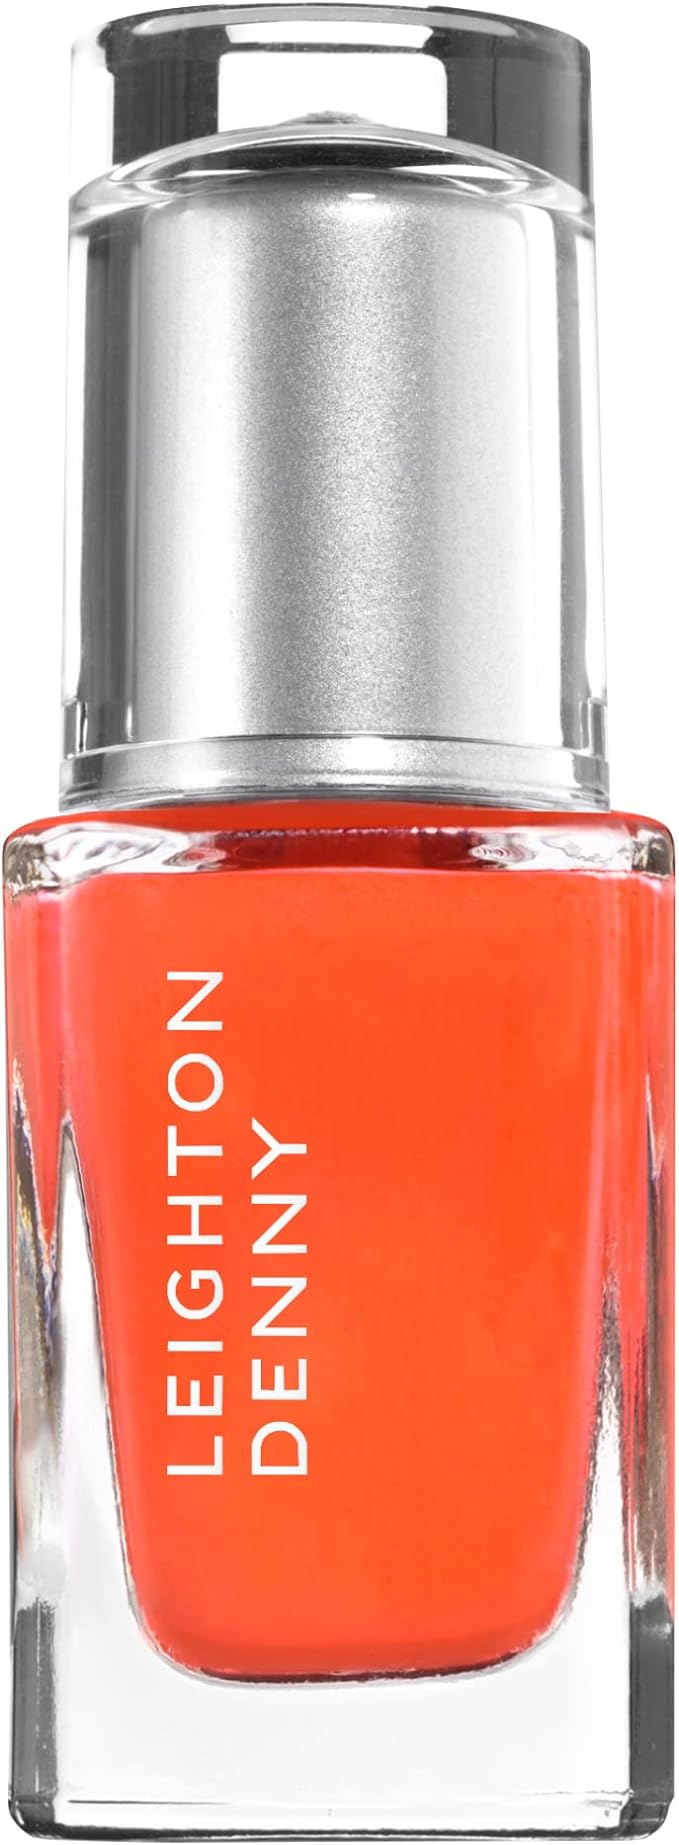
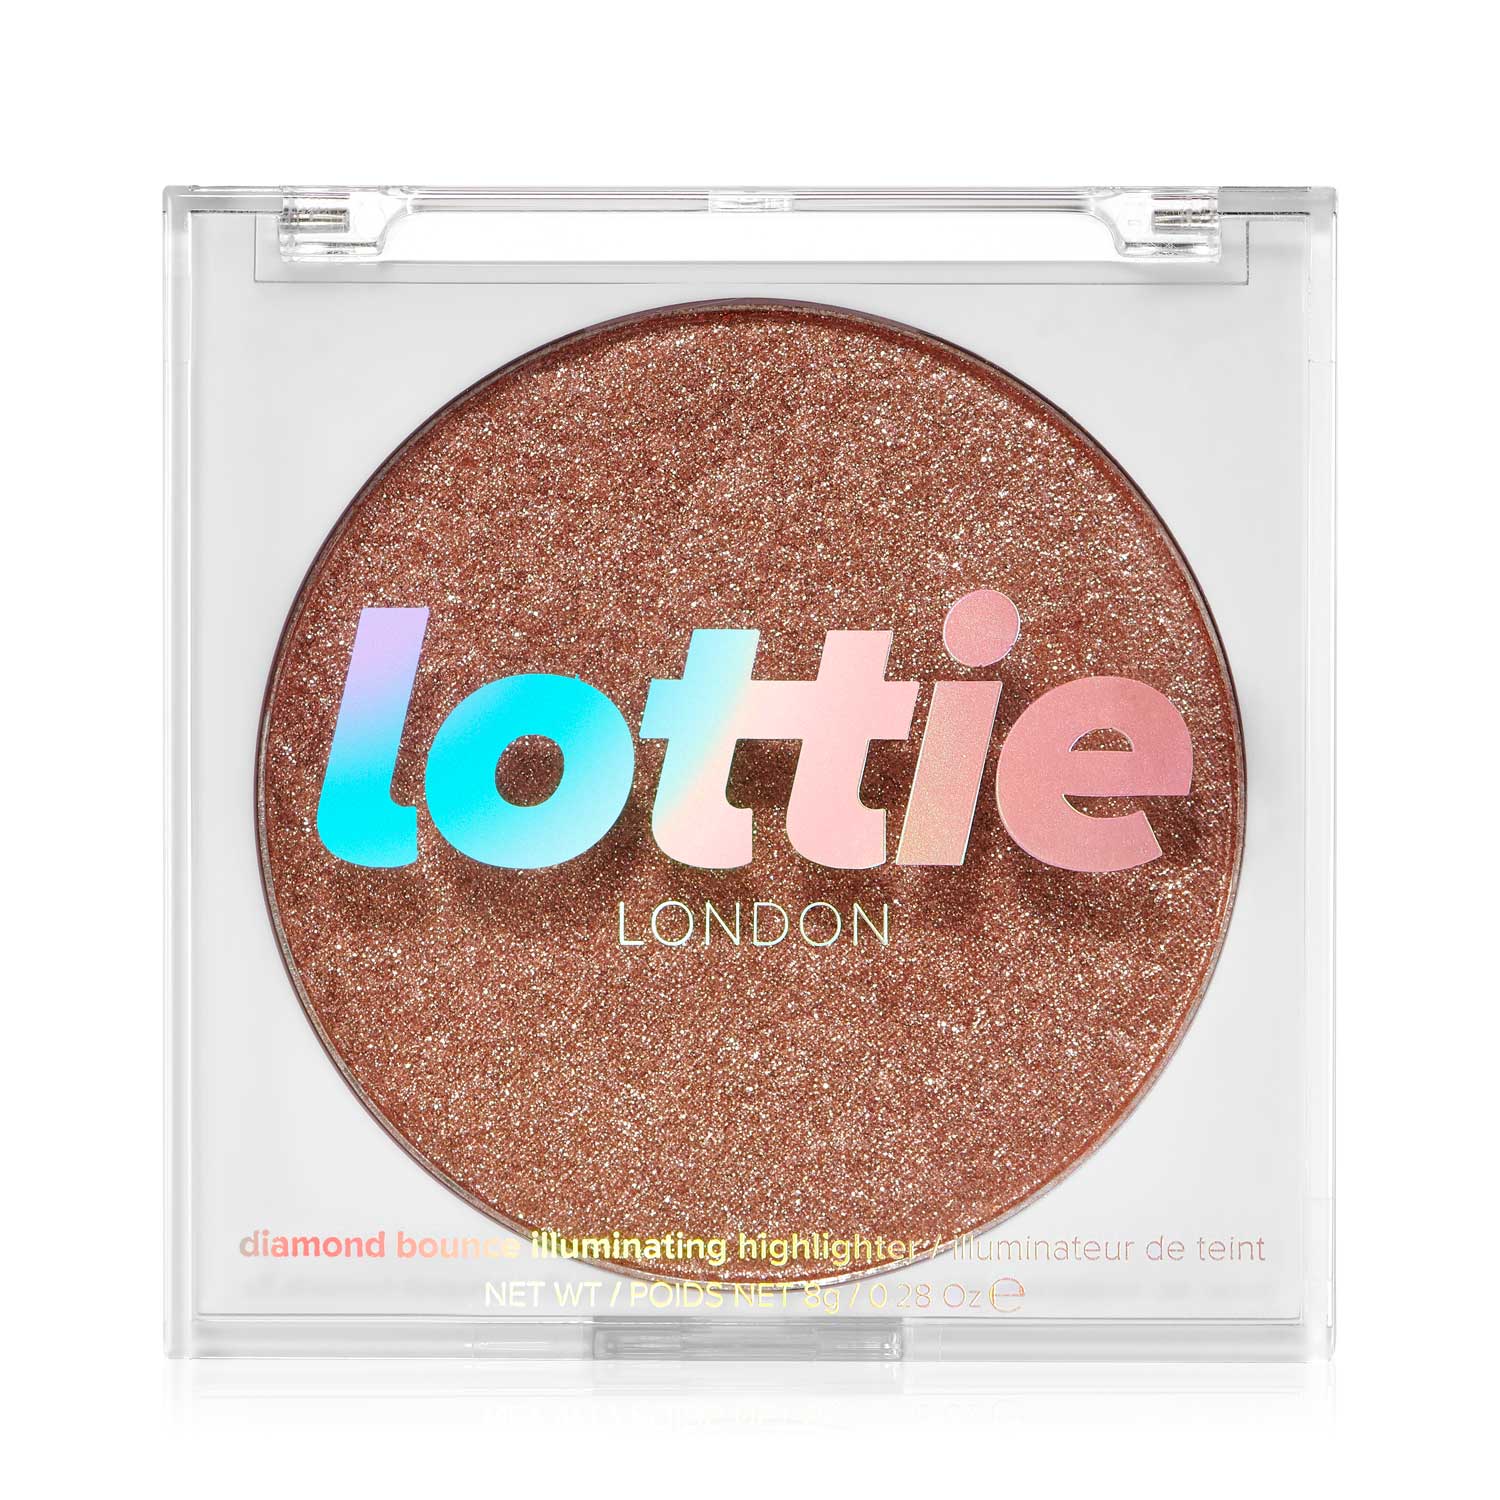
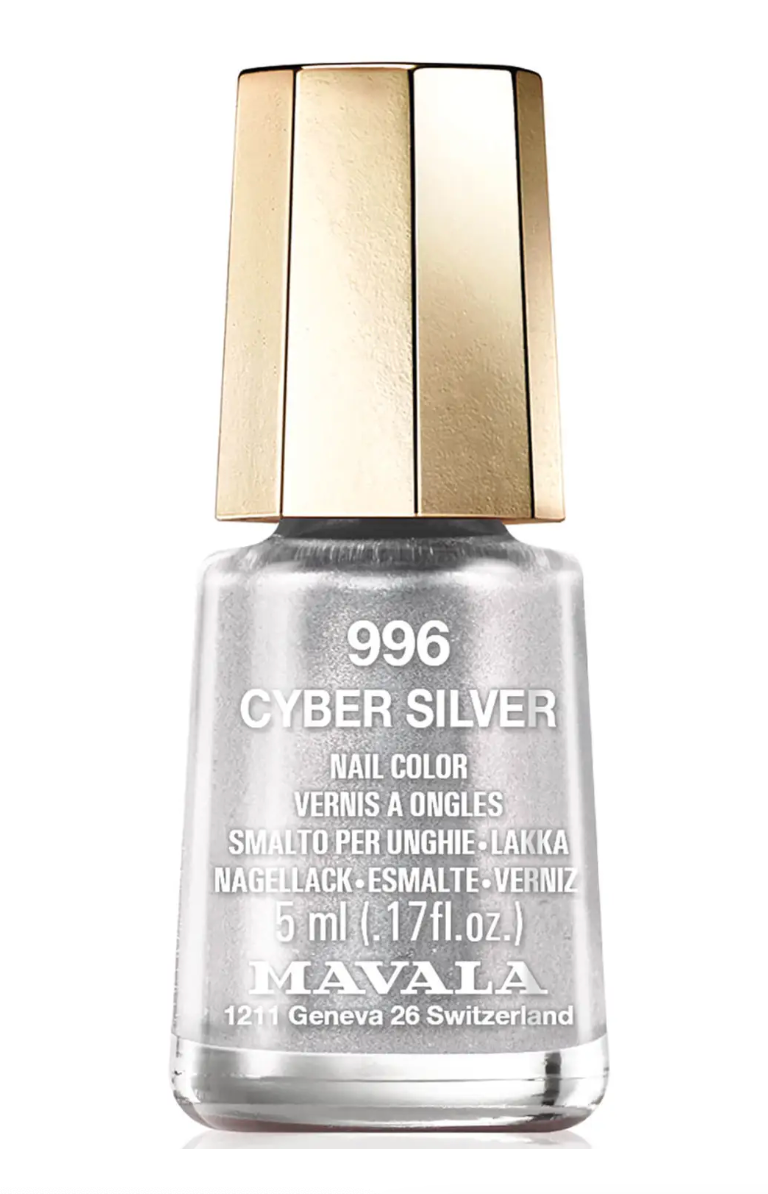
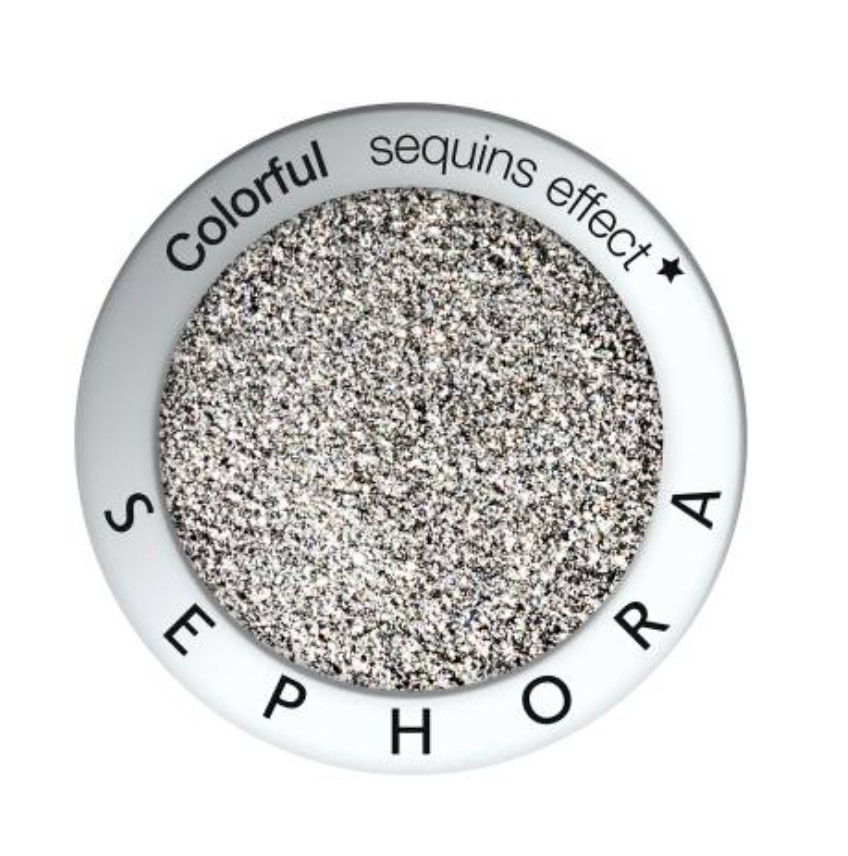
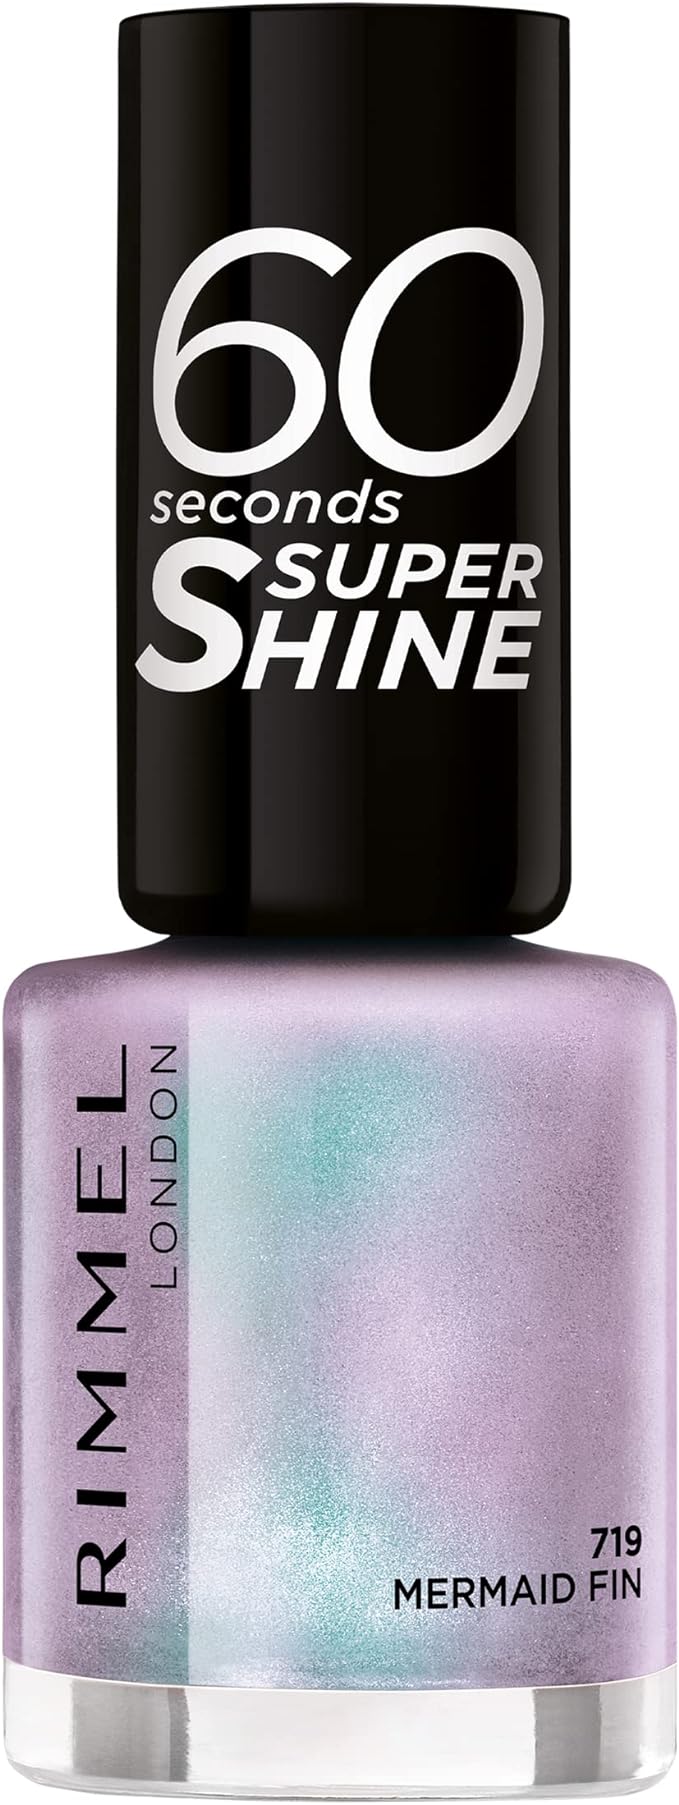
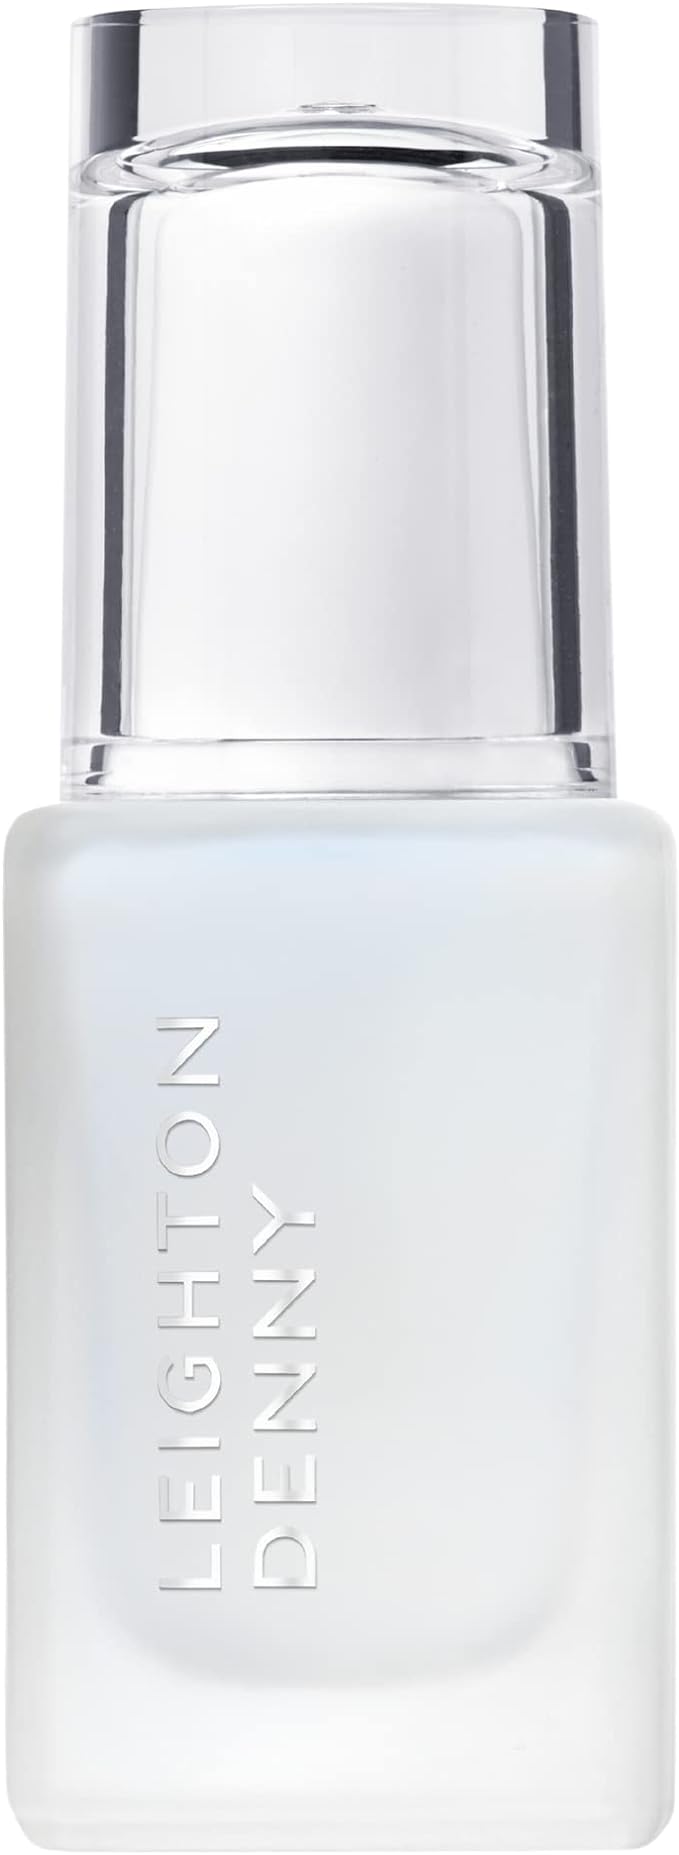
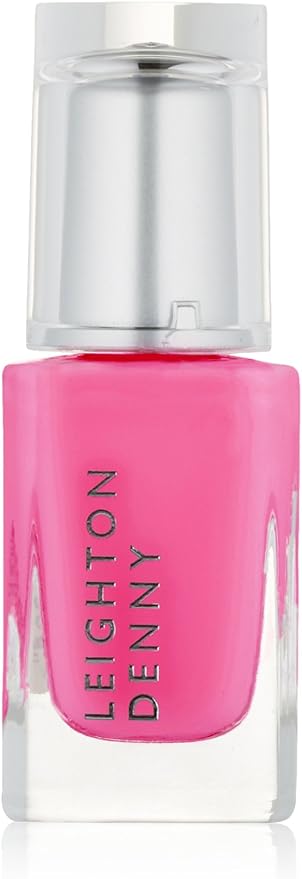
Chrome nails are incredibly popular thanks to Hailey Bieber’s glazed doughnut manicure, but while most chrome powders are only available in salons, the DIY experts have been getting creative with shimmery face highlighters and top coats, and it seems to really work. After applying a bold orange coat to each nail (Main Squeeze by Leighton Denny, £11.76), I buffed in the most sparkly face powder highlighter I could find (Lottie London’s Diamond Bounce, £8.95) using my finger. Then I locked it all in with the Ciaté top coat, and a high-shine metallic nail was created within a matter of minutes. It was so easy! Next time though, for extra ease, I’ll try a shimmery top coat like Rimmel London’s Mermaid Fin, currently £1.80 on Notino. I reckon it will look stunning over a dark base.
AdvertisementADVERTISEMENT
How to paint your own metallic, chrome nails
“Funny Bunny” nails
By the professionals...
By me...
Difficulty: Easy
Time taken: Five minutes
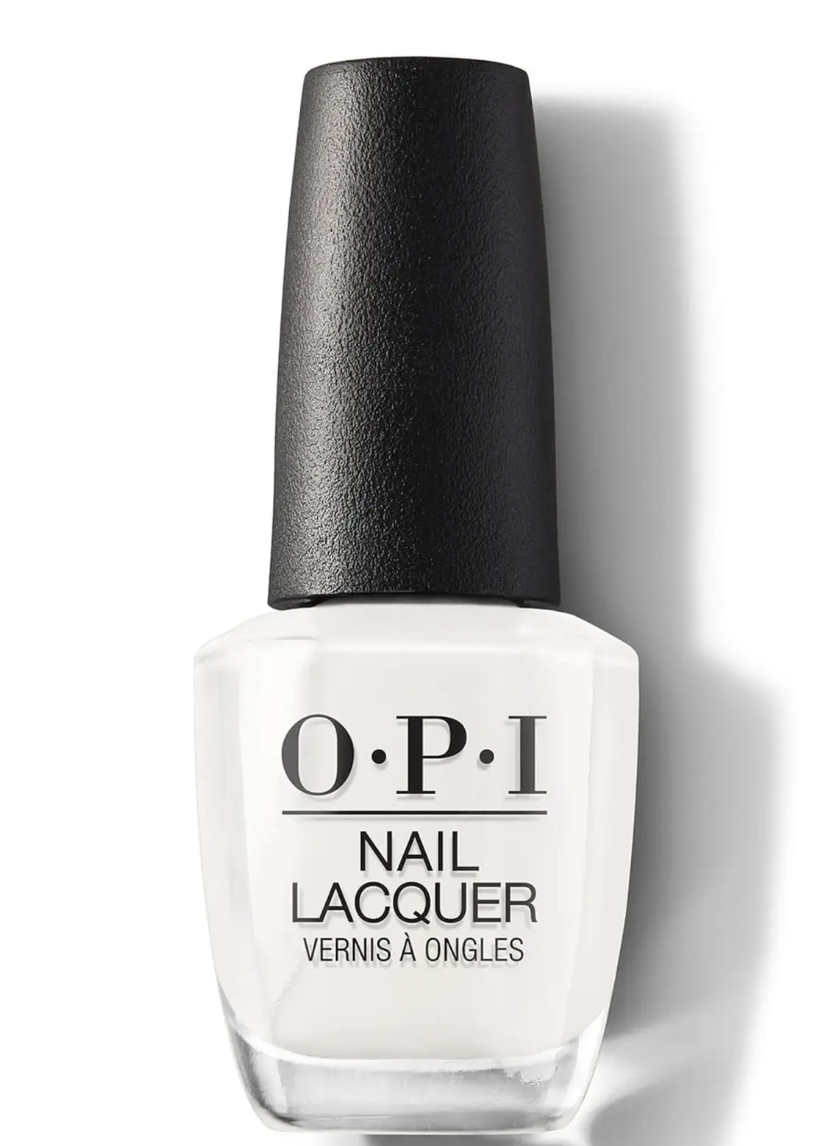
In salons, OPI’s Funny Bunny, £14.90, has been one of the most popular nail shades for a number of years now. But just as I found with its more matte counterpart (Bubble Bath, also by OPI) the sheerness of the shade does make it difficult to achieve an even application. Make sure to buff your nails and properly prep with a base coat beforehand. You may need two or three coats. Apply it the pro way with a slick down the centre of your nail and one on either side so that the polish appears even.
How to paint your own Funny Bunny nails
French tips with colour
By the professionals...
By me...
Difficulty: Medium
Time taken: Fifteen minutes
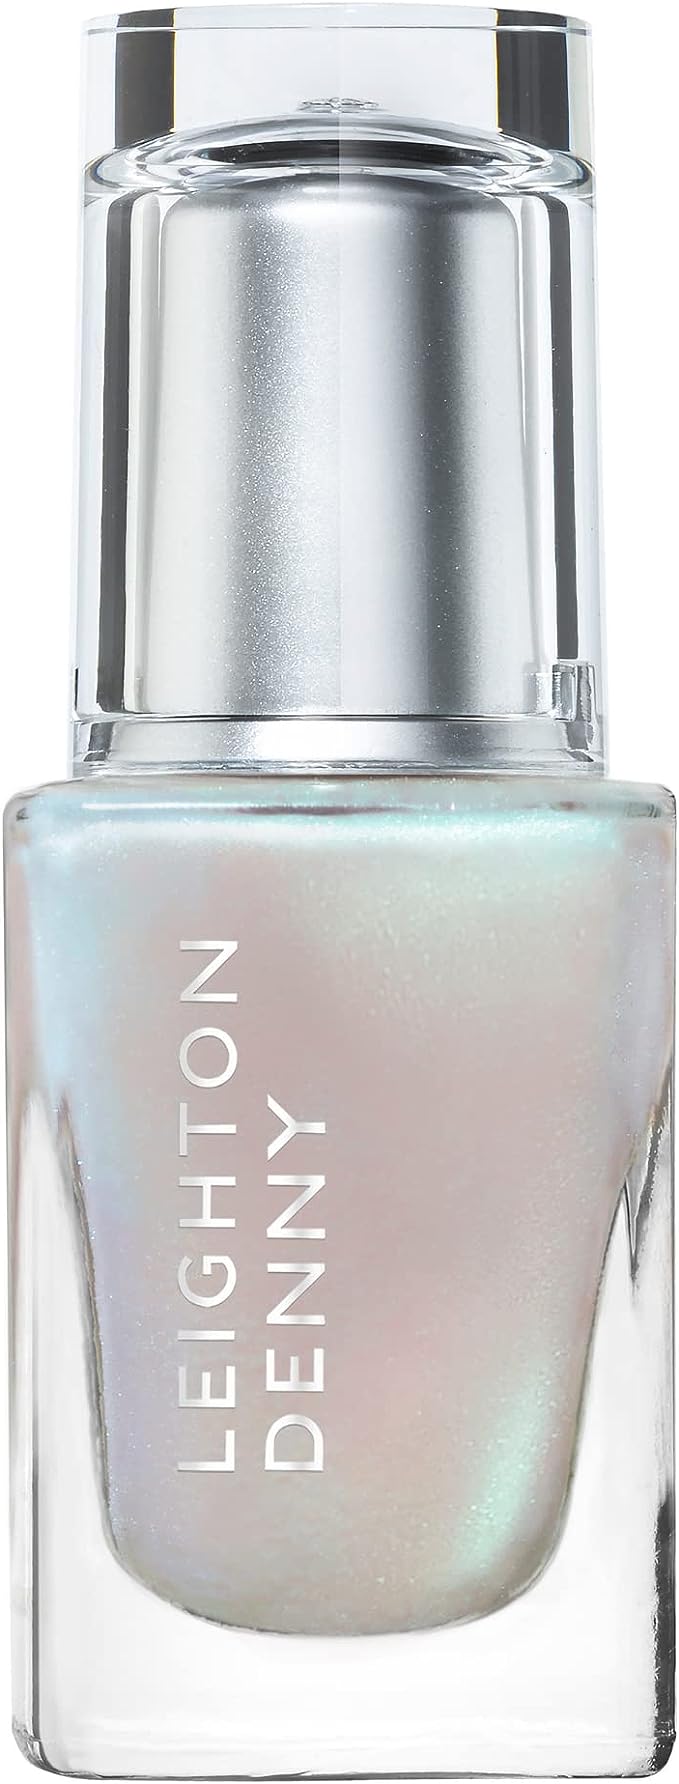
Beloved by many, the classic French manicure has been given a fun upgrade for 2023: the “colourful French”. I opted for a bold pop of pink (Leighton Denny’s All About Me, £12.50) with a semi-sheer, pearlescent base, which did look beautiful. After watching multiple TikTok tutorials, I attempted it with two techniques. Both start by applying the base shade (Pleasing’s Perfect Pearl, £20) to the entire nail. Easy.
The first TikTok technique suggests adding the French tip colour to the pad of your finger on the opposite hand. Gently press your nail into the finger painted with polish in the hope that it leaves a slick line of colour. This didn’t work for me and you definitely need to have fairly long nails to allow the colour to transfer onto just the tip of your nail and not your whole finger. My sweaty hands left big splodges of colour across each nail in haphazard shapes that were anything but chic.
AdvertisementADVERTISEMENT
The second way to do it involves using a Beautyblender. Following a similar process, paint one line of the French tip polish onto the sponge before gently (and gently is the operative word here) pressing each nail into it. You will need to re-apply the line of paint for every nail, moving your finger around to coat both the front and the sides. You should be left with something slightly resembling a French tip, although mine were never even.
How to paint your own colourful French tip nails
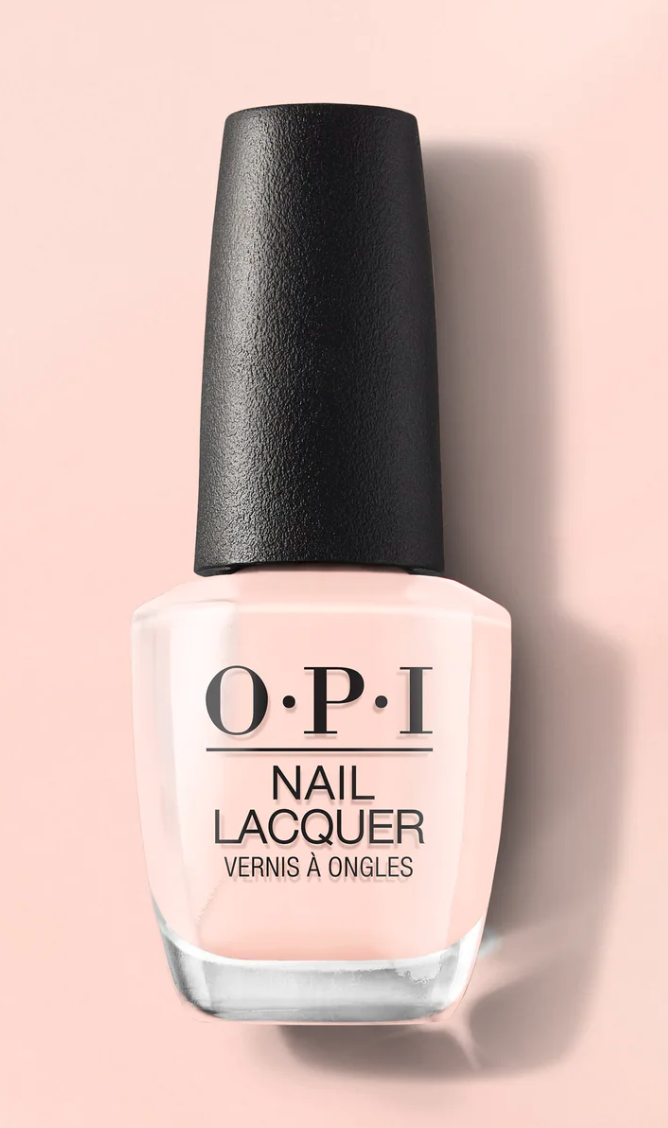
“Bubble Bath” nails
By the professionals...
By me...
Difficulty: Easy to medium
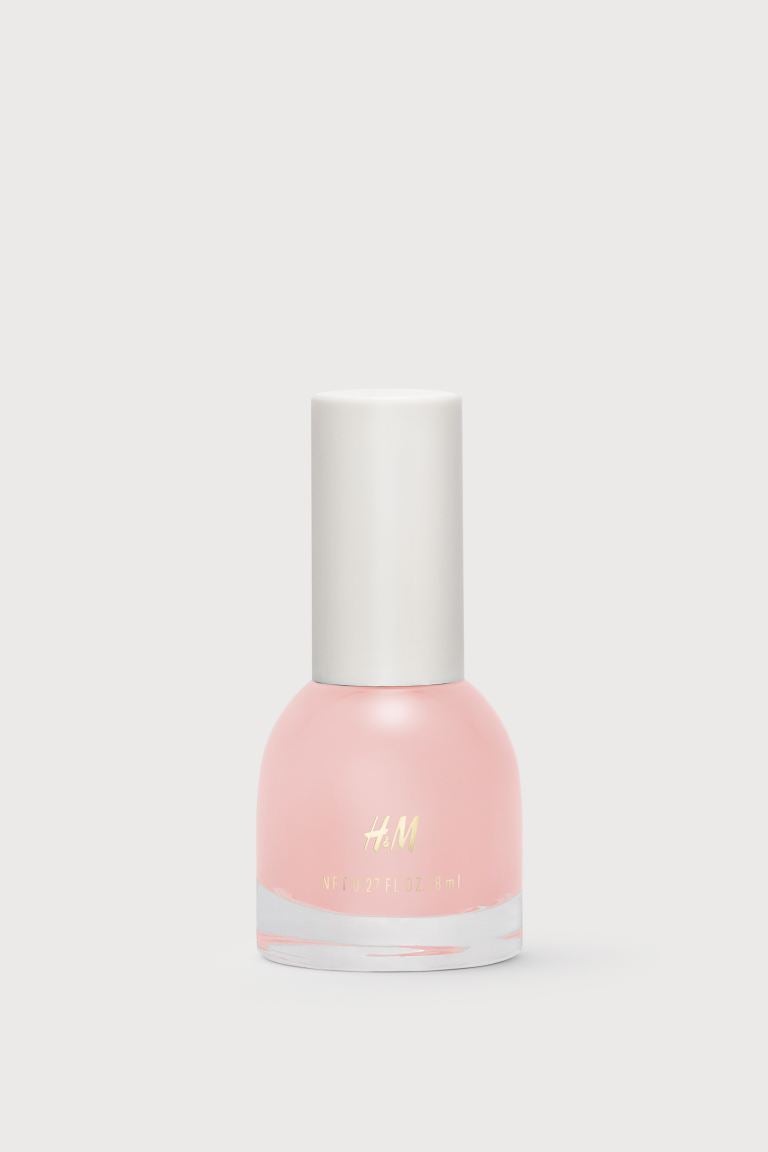
Time taken: Ten minutes
If you’re looking to play it safe, then OPI’s pastel pink Bubble Bath shade, £14.90, may be your best bet. While any pale pink shade will work, OPI’s is a bestseller for a reason: it’s simple and chic in shade, and high quality in coverage. As it’s so sheer it’s actually a little tricky to make it look seamless. After three coats, my nails still were not close to being salon quality, but any more than that and it would probably peel off like a sticker, so slightly uneven it will stay, although I didn’t really mind. If you look after your nails, you’ll be pleased to know that OPI has re-released the shade as part of its Nail Envy collection, updating the OG formula with a patented tri-flex technology that helps to strengthen the natural nail underneath, protecting it from peeling and splitting.
AdvertisementADVERTISEMENT
How to paint your own Bubble Bath nails
Half-moon manicures
By the professionals...
By me...
Difficulty: Difficult
Time taken: Twenty minutes plus
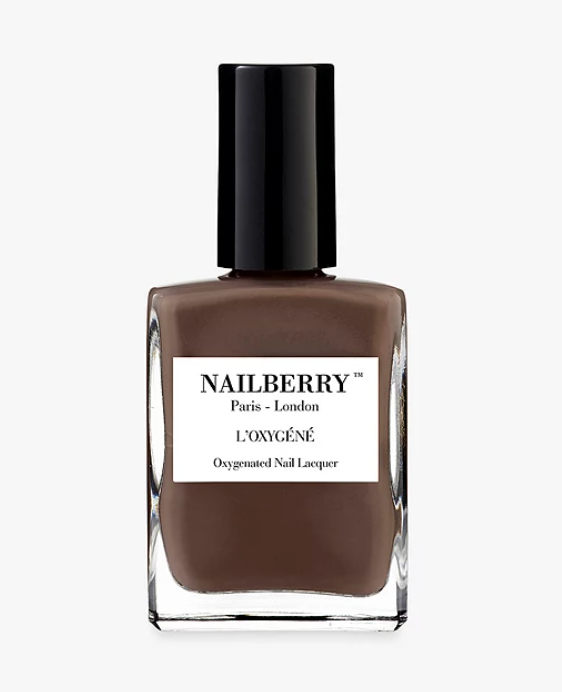
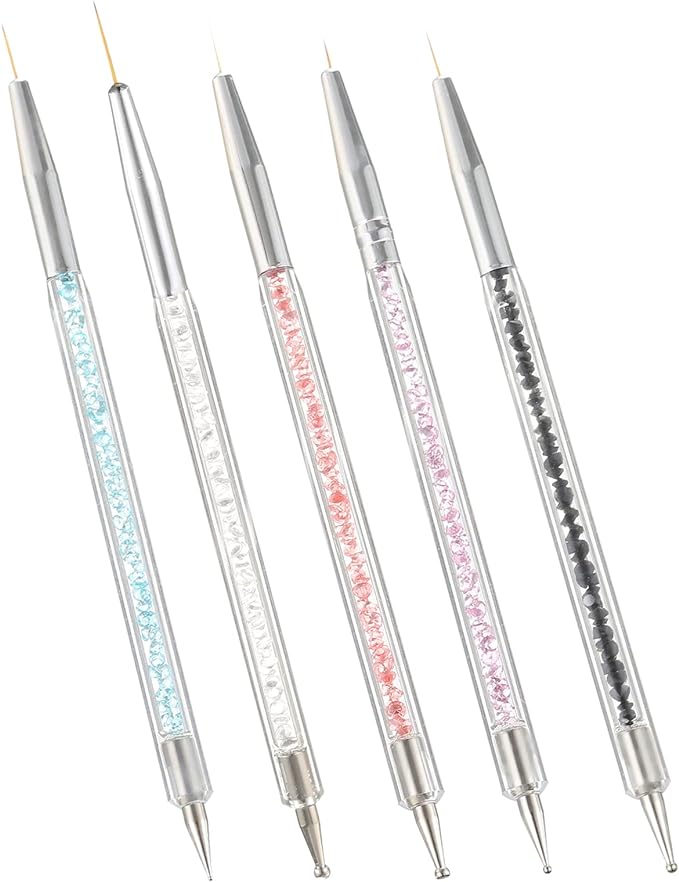
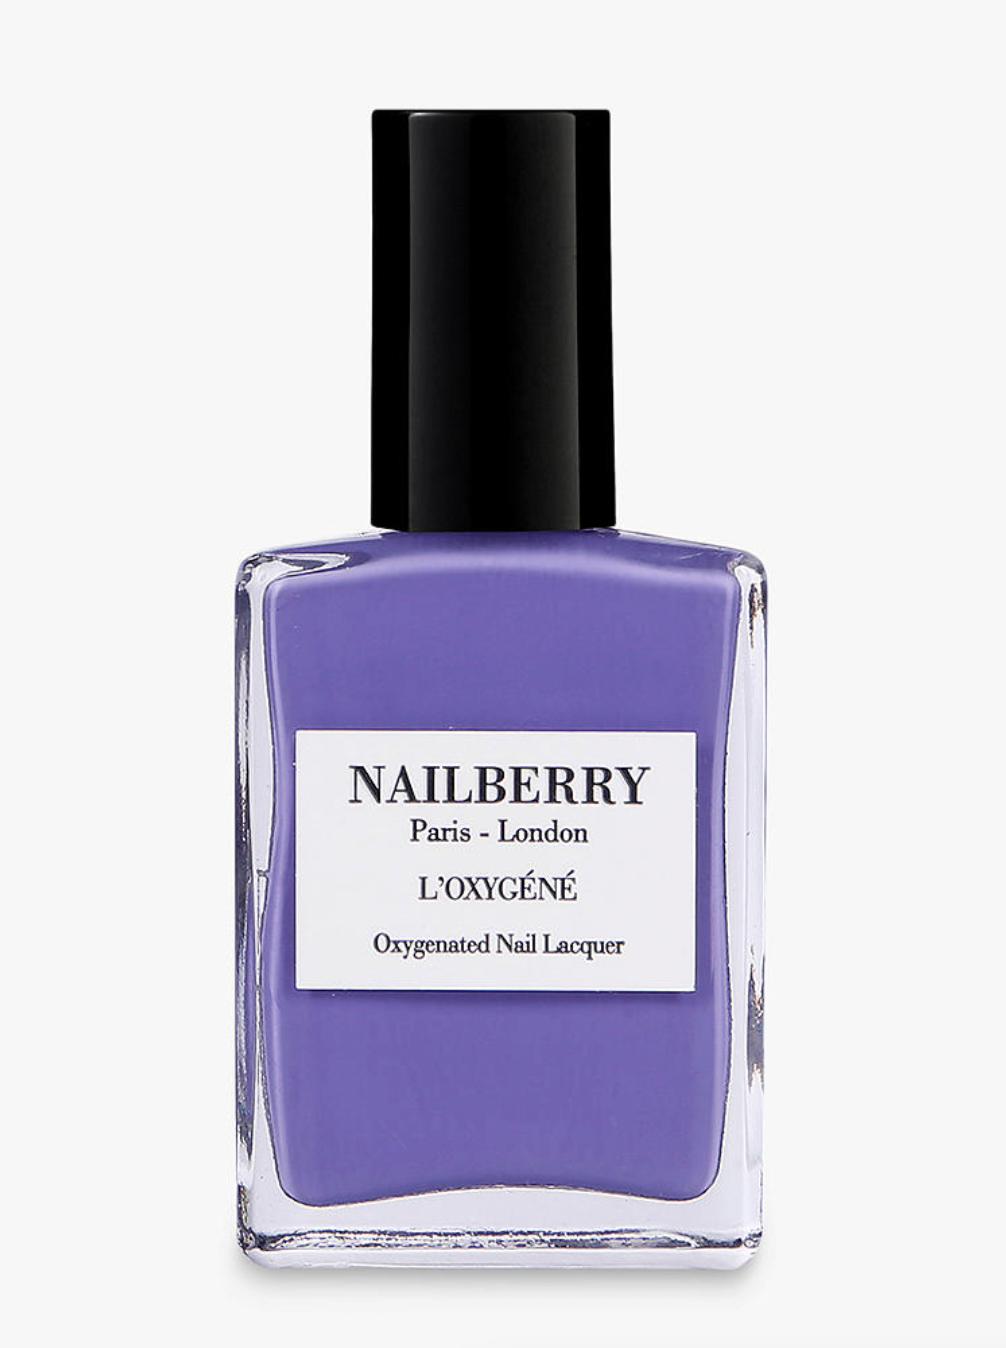
The half-moon manicure really tested my DIY nail capabilities, forcing me to buy an actual nail art brush set from Amazon. But the hardest part for me was actually choosing two colours that complemented each other, which I’m not too sure I was ever that successful with. I started with a base coat of Bubble Bath on each nail. Then, using the Amazon brush set, £3.99, I began drawing on each half-moon at the top of each nail with Nailberry L’Oxygéné Oxygenated Nail Lacquer in Bluebell, £16. None were that even, but it was actually a little easier than I first thought, and it really is a case of practice makes perfect as they do slowly get better every time. The most tricky part (as it sort of works like a paint-by-numbers) is filling in the rest of the nail without going inside the half-moon line. Some were successful, some weren’t so much, but the more I did it the better they got, and the result was probably the most impactful of any of the nail designs.
How to paint your own half-moon nails

AdvertisementADVERTISEMENT